Workflow Guides
Smarter Meeting Minutes in 8 Easy Steps
Here’s a quick tutorial for using Layer Smart Docs to take more efficient Meeting Minutes
Here’s a quick tutorial for using Layer to efficiently manage Work Orders
Learn how to easily perform one of Layer’s core workflows, managing Work Orders.
Capture, manage, and forecast maintenance issues with your team with Layer’s easy-to-use interface.
Here’s how to get started:
1. Open Layer and create a new Project
Log in to Layer or create a new account. In the dashboard, select New Project.
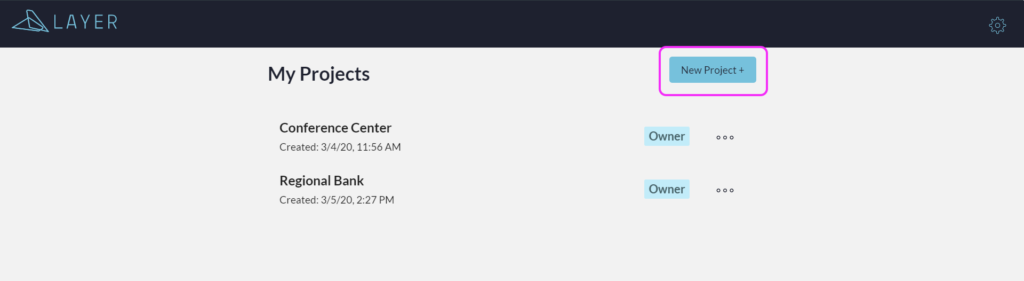
Tip: Attach your Project to Revit to automatically load a list of Room Elements.
2. Create new Room Elements
Select the Elements button in the bottom navigation bar to create new Elements manually or choose to import room data by importing a CSV file.
Create a new Category called Rooms by selecting the Tag button, naming the new Category, and then selecting Click here to create the category... Elements for Work Order Management can be anything such as a room or piece of equipment.
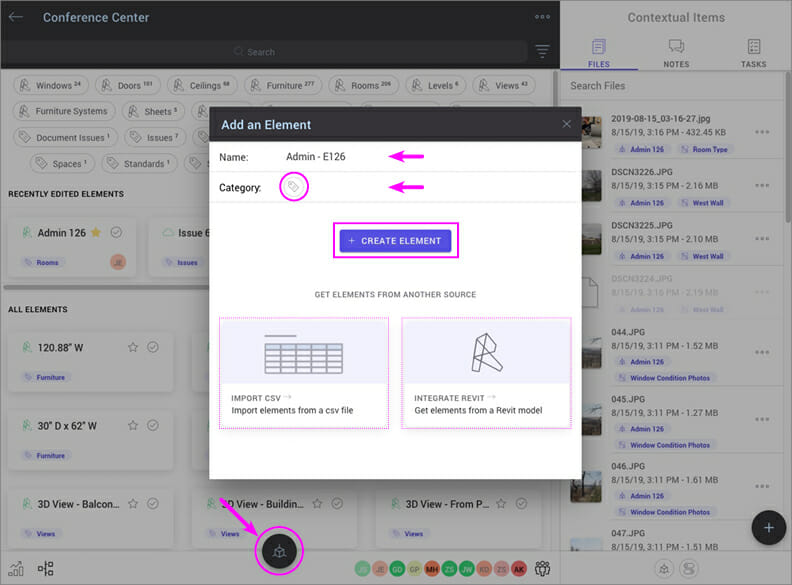
Tip: We like to do this initial set-up in the office, but Layer’s flexible platform also lets you do this on the fly and in the field.
3. Invite Team Members
Select the Team Members button in the bottom navigation bar to invite other users. Choose from three permission levels: Owner, Editor, or Viewer. Owners and Editors can invite other users and create new Categories, Elements, and form fields. Viewers cannot invite users or make edits within Layer.
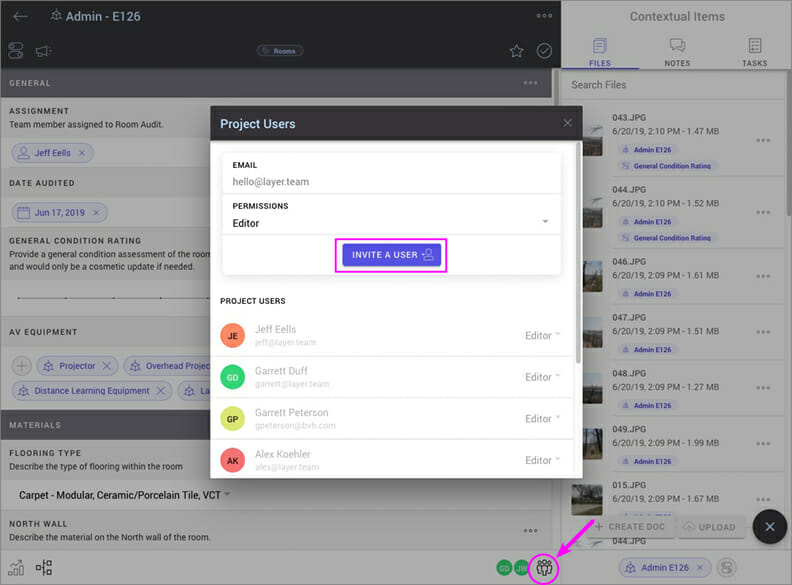
Tip: Choose the permissions level for users based on your project management style.
4. Create the Work Order template
Select the Elements button in the bottom navigation bar to create a Work Order template. Create a new Category called Work Orders. All new Work Orders should be assigned this Category.
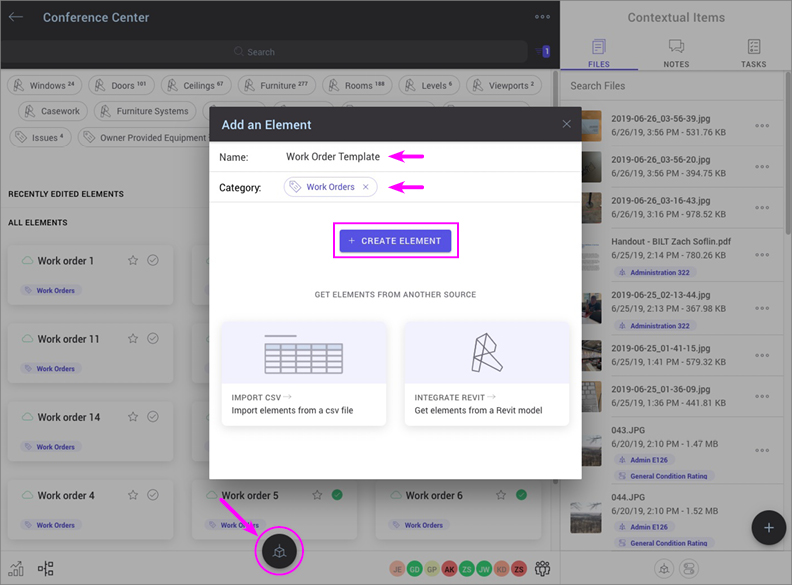
Tip: Create different types of Work Order templates by assigning each its own Category.
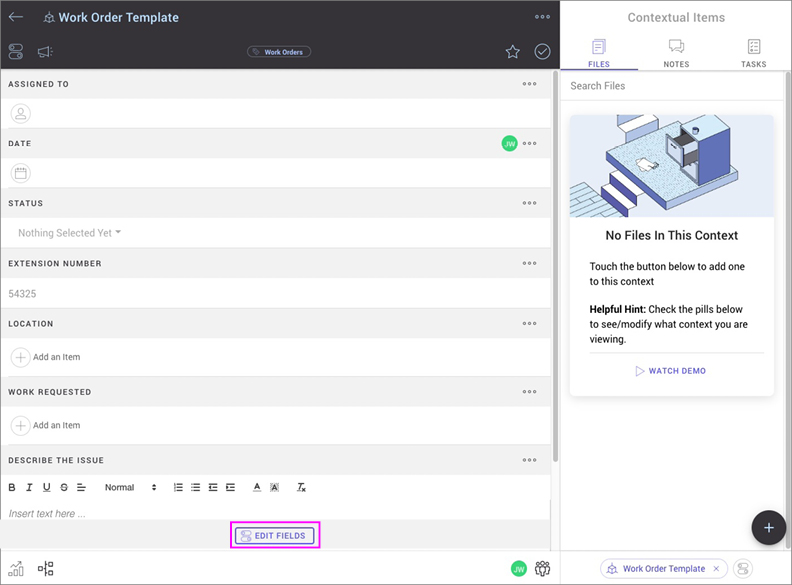
5. Create new form fields for the Work Order template
Select the Edit Fields button, then the + button to create new form fields within the Work Order template. Form fields only need to be set up once in the template since these fields will propagate to all Work Orders within that Category.
Here is a sample template for a Work Order:
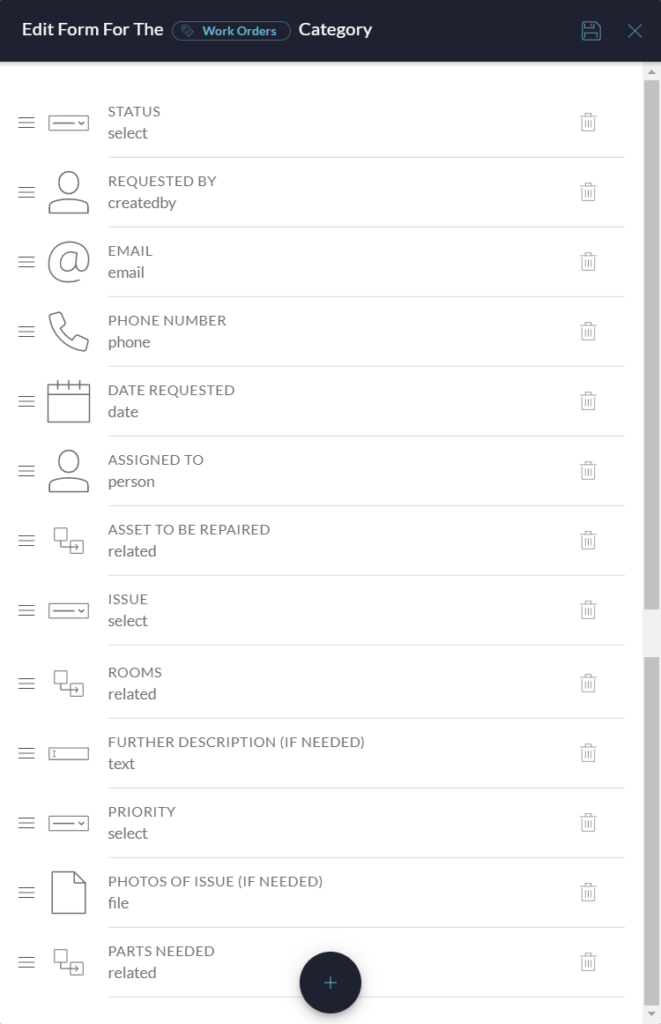
Here is a list of fields that can be inserted into Work Orders:
Tip: Pre-fill the types of Work Requested for efficiency and to get a quick snapshot of maintenance trends.
6. Create a new Work Order
Select the Elements button in the bottom navigation bar to create a new Work Order. Assign it to the Work Order Category. Fill out the pre-designed form fields.

Tip: Layer can be used on any platform or device via the web browser. Or download the iOS app for iPhone and iPad.
7. Take Photos of the issue
Navigate to Files and select the + button in the lower right corner to take photos from a phone or tablet and view the files instantly within the Work Order.
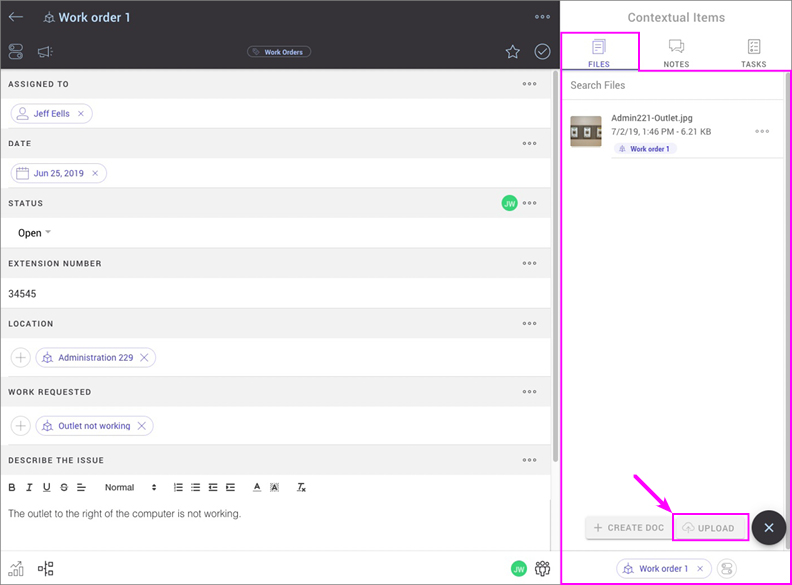
Tip: Need to redline a photo, PDF, or DWG file? Select the file to open it directly in Layer and use the mark-up tools in the top navigation bar to redline as needed.
8. Make Notes about the issue
Navigate to Notes to chat and coordinate with team members instantly either project-wide or within the context of the Work Order.
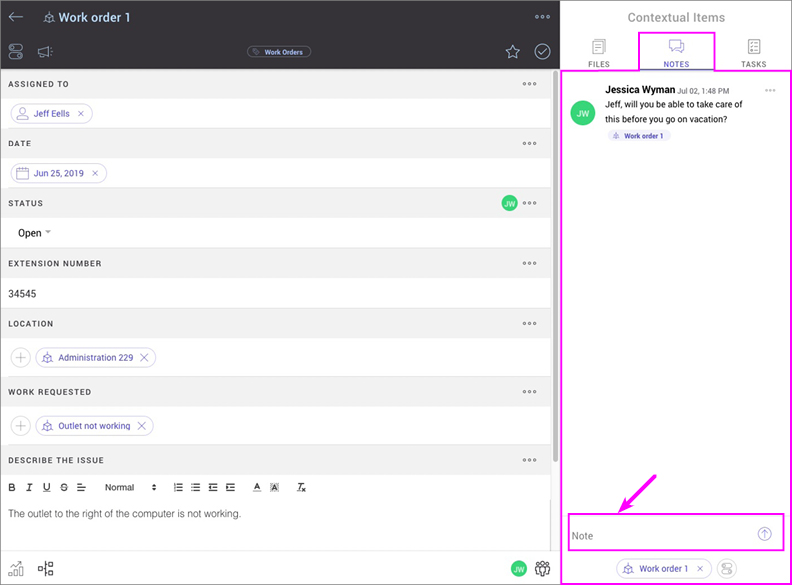
Tip: Know when you’ve been mentioned in a note by selecting the Notifications button in the upper left corner to receive push notifications either project-wide or specific to a Work Order.
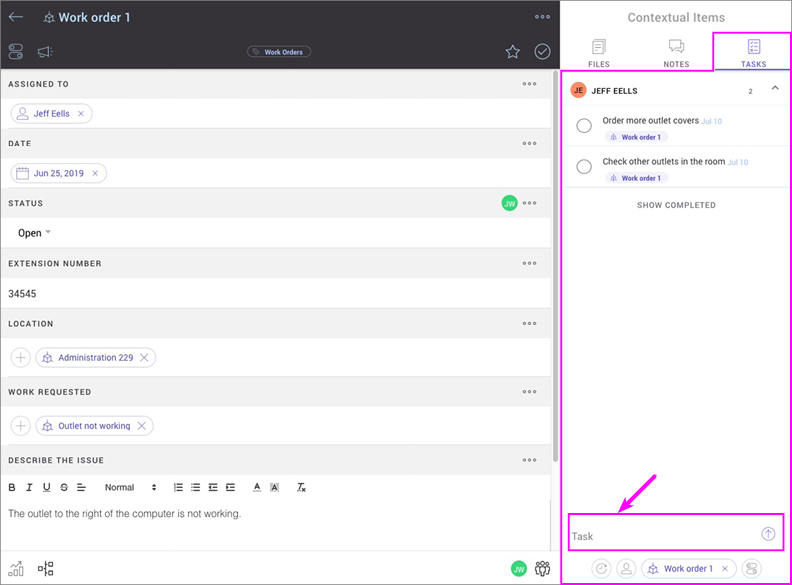
9. Assign Tasks
Navigate to Tasks to assign additional Tasks with due dates within the Work Order.
Tip: Know when you’ve been assigned a task by selecting the Notifications button in the upper left corner to receive push notifications either project-wide or specific to a Work Order.
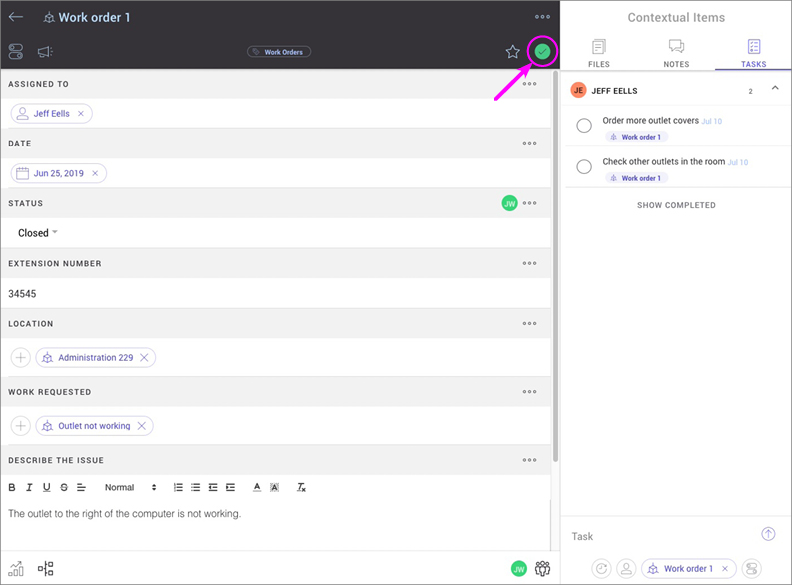
10. Track and close out the Work Order
Track the status of the Work Order with a custom form field called Status and select the Complete Element icon in the top navigation to indicate that the Work Order is complete.
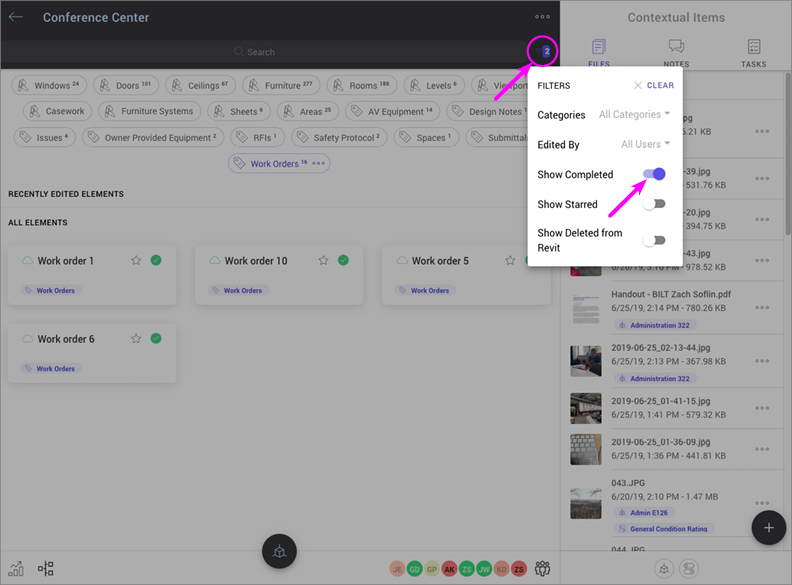
Tip: Navigate to the Down Arrow icon in the upper right corner to filter Elements by Category, Editor, Completion status, and Favorites.
Layer is an easy-to-use work orders app that makes managing Work Orders simple and more efficient by keeping every piece of information and every team member exactly where they need to be: in the context of thebuilding. Say goodbye to redundancy and confusion.
Here’s a quick tutorial for using Layer Smart Docs to take more efficient Meeting Minutes
Here’s a step-by-step tutorial for using Layer to create robust Room Data Sheets and custom reports without excel.