Whether you call them Facility Audits or Building Condition Surveys, building data and photos that would ordinarily be stored in different channels can now be easily captured, organized, and shared with Layer.
What does this mean for you? It means you don’t need different apps or channels to document a building walkthrough. It means you don’t need to waste time downloading and filing photos or sifting through notes. And most importantly, it means your team will be able to find and share building data in one easy-to-use hub that syncs instantly and integrates directly to Revit.
Here’s how to get started:
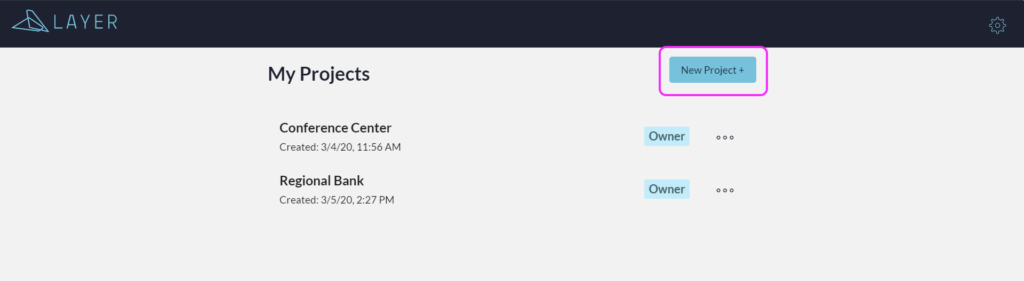
1. Open Layer Log in to Layer or create a new account here. In the dashboard, select New Project.
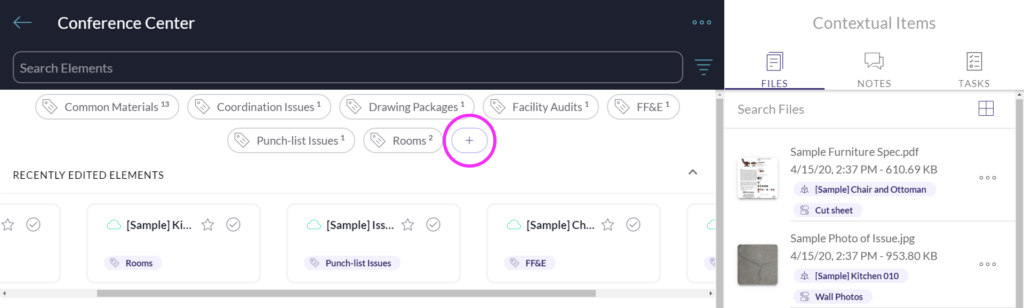
2. Create a Category Categories are the top-level containers for organizing Elements within a Project. If you started with a Project Template you will already have several sample Categories and Elements in your Project Dashboard. To create your own Categories, click the + button in the Categories section.
Enter a Category name and click Create Category.
Tip: We like to do this initial survey set-up in the office, but Layer’s flexible platform also lets you do this on the fly and in the field.
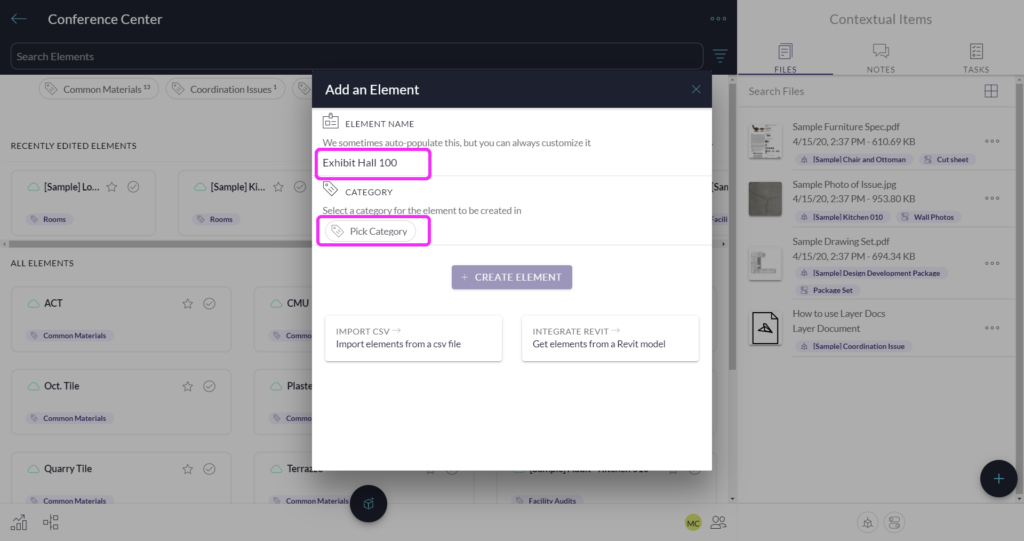
3. Create Elements Elements can be anything such as a room, piece of equipment, punch list issue, or work order. To create your own Elements, click the Create an Element button in the bottom navigation bar.
Give the new Element a name and click Pick Category to assign the Element to one of the existing Categories.
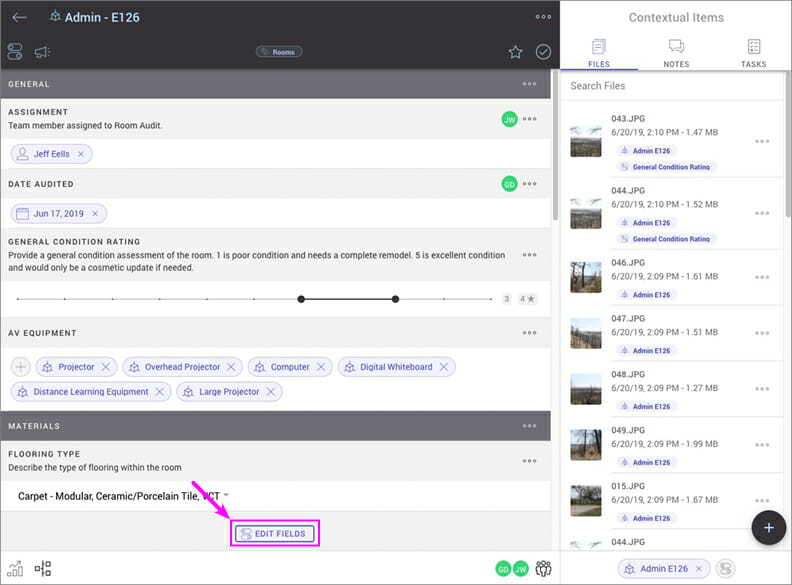
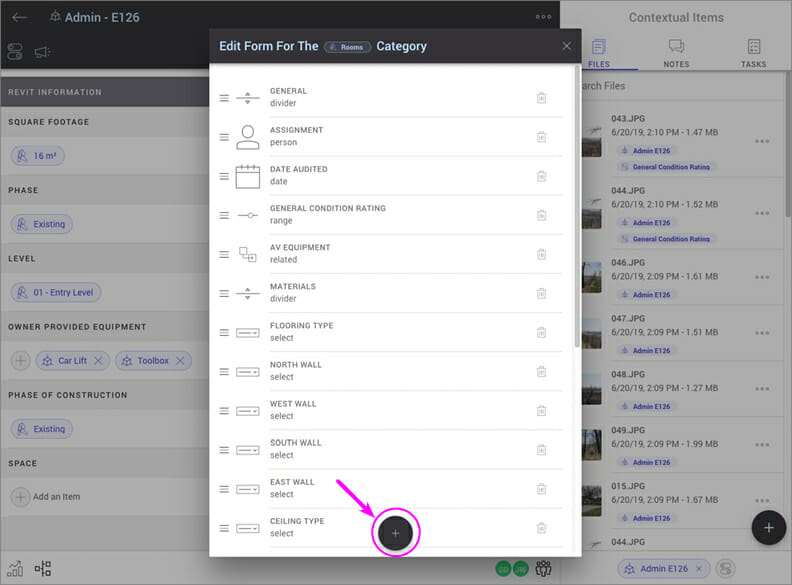
4. Create new form fields for all data points Select the Edit Fields button then the + button to create new form fields. Form fields only need to be set up once in a Room Element since these fields will propagate to the other Room Elements within its Category. Use different Categories to collect different sets of data points.
Tip: Don’t stress, you can always add or delete data points later on in the field.
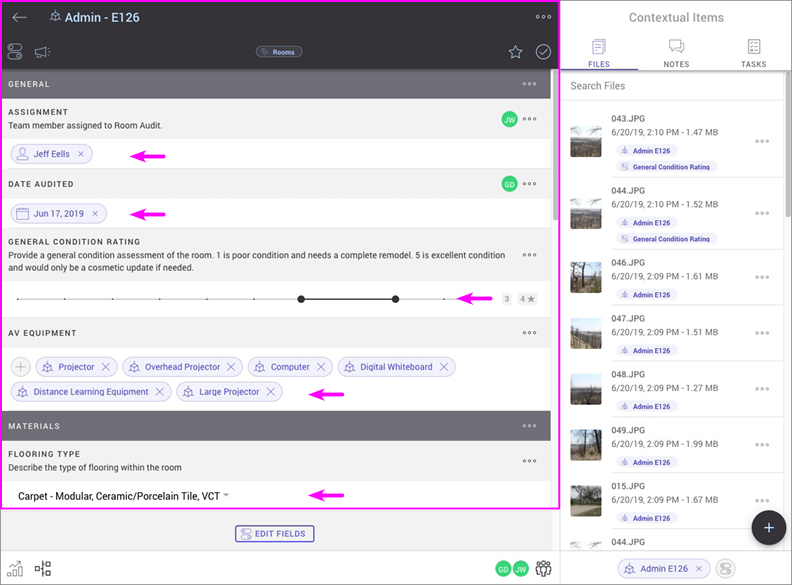
5. Collect Data Navigate to a Room Element and input data into the pre-designed form fields or create new form fields as needed. Layer can be used on any platform or device via the web browser or download the Layer App for iOS or Android.
Tip: There’s no need to save your work, Layer automatically syncs your data in real-time as long as you’re connected to Wi-Fi.
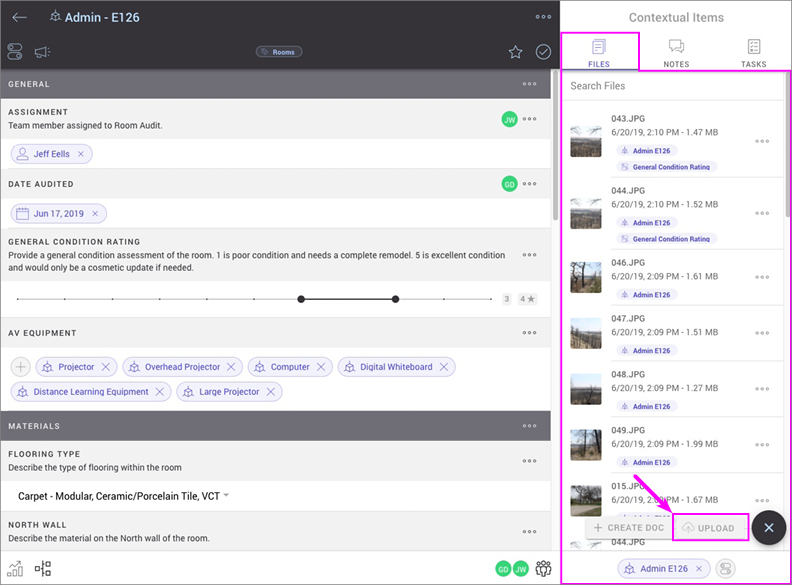
6. Take Photos Navigate to Files and select the + button in the lower right corner to take photos from a phone or tablet and view the files instantly within the Room Element.
Tip: Need to redline a photo, PDF, or DWG file? Select the file to open it directly in Layer and use the mark-up tools in the top navigation bar to redline as needed.
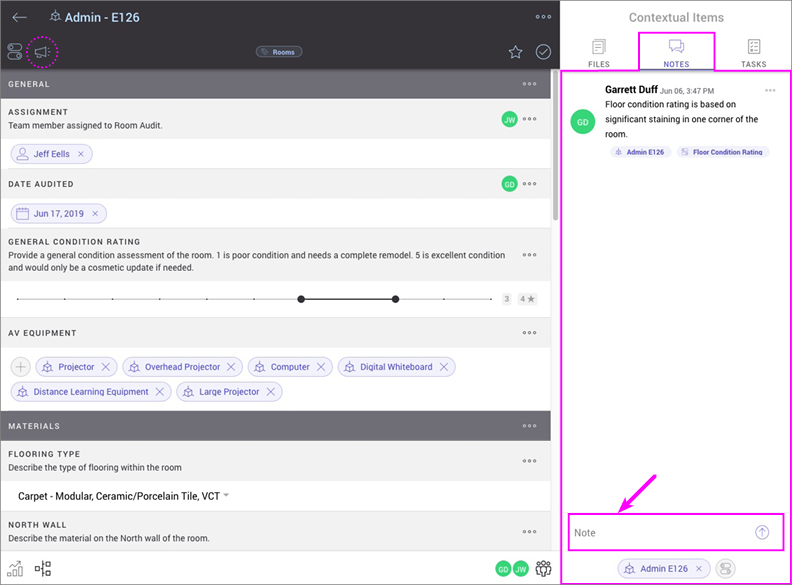
7. Make Notes Navigate to Notes to chat and coordinate with team members instantly either project-wide or within the context of a Room Element.
Tip: Know when you’ve been mentioned in a note by selecting the Notifications button in the upper left corner to receive push notifications either project-wide or specific to a Room Element.
8. Assign Tasks Navigate to Tasks to assign Tasks with due dates either project-wide or within the context of a Room Element.
Tip: Know when you’ve been assigned a task by selecting the Notifications button in the upper left corner to receive push notifications either project-wide or specific to a Room Element.
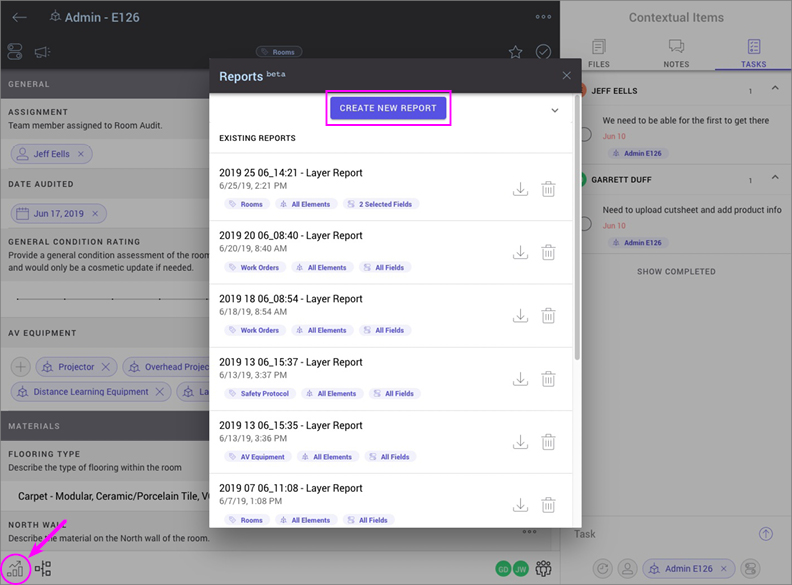
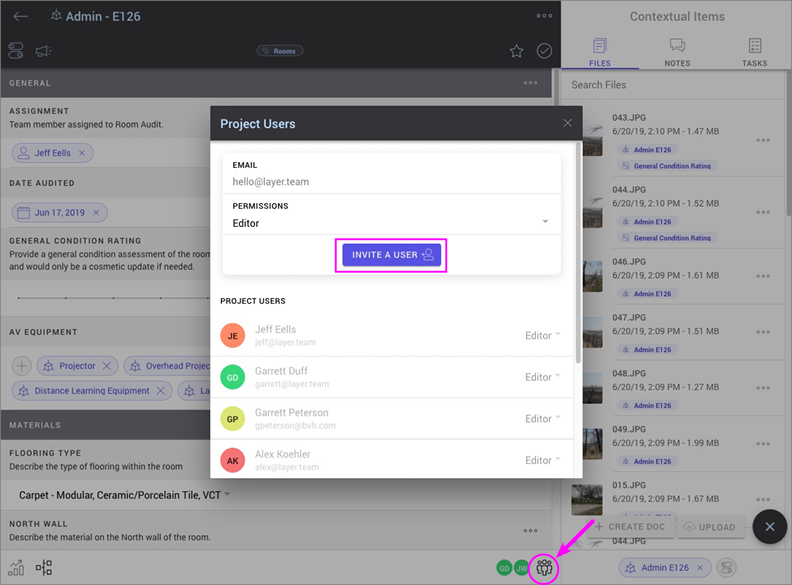
9. Create a Report or Share the Data Select the Reports button in the lower-left corner to export a report or select the Team Members button in the lower right corner to invite users to view and share the collected photos and data.
Tip: Attach a Revit model to instantly see the photos and data as you click through the model. The information you need to design is now connected to the tool used to produce the design.
Layer makes Facility Audits faster and more efficient by keeping every piece of information and every team member exactly where they need to be: in the context of the building. Say goodbye to busy work. Layer is the only platform where you can collect, organize, and share your building data and can connect that data to BIM.
Do you want to take faster Facility Audits? Try Layer free for 14 days now!