Workflow Guides
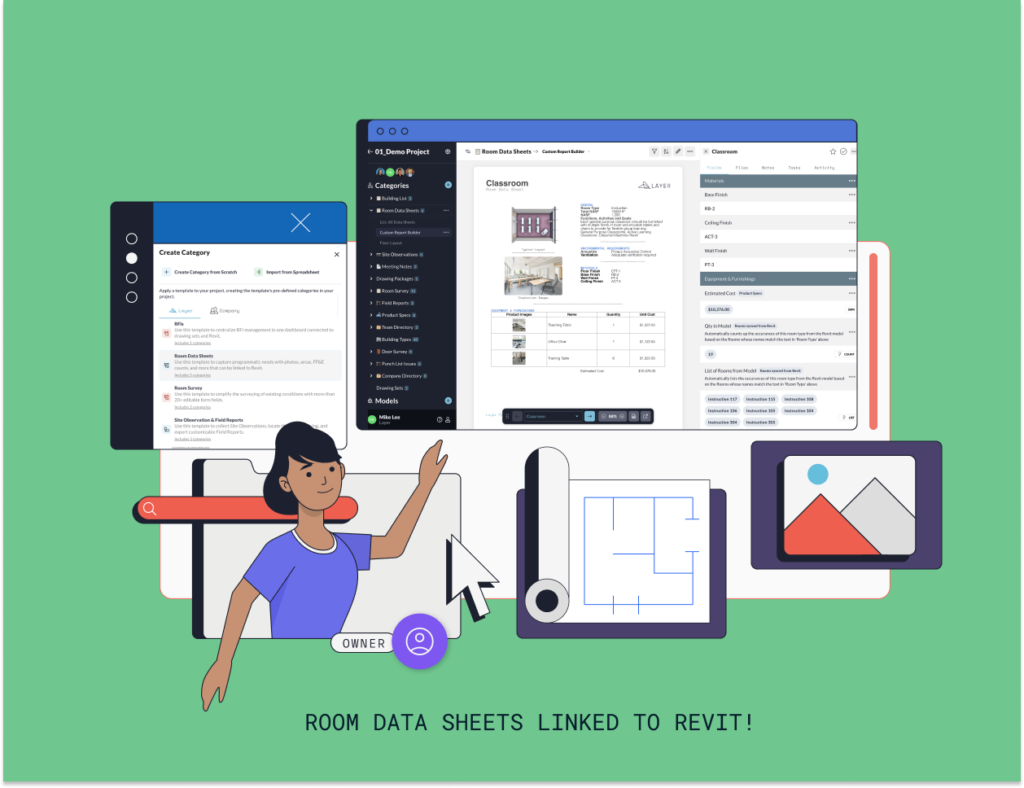
Architectural Room Data Sheets Explained
This article explain the what, when, and why of Architectural Room Data Sheets and their role in the design process.
Here’s a step-by-step tutorial for using Layer to create robust Room Data Sheets and custom reports without excel.
Stop losing important information in your inbox. Accurately capture valuable project data in one place with Room Data Sheets that are easy-to-create, manage, and edit. Follow our step-by-step guide below to learn how, with and without Revit data.
If you prefer a video, check out our Room Data Sheets Linked to Revit webinar here.
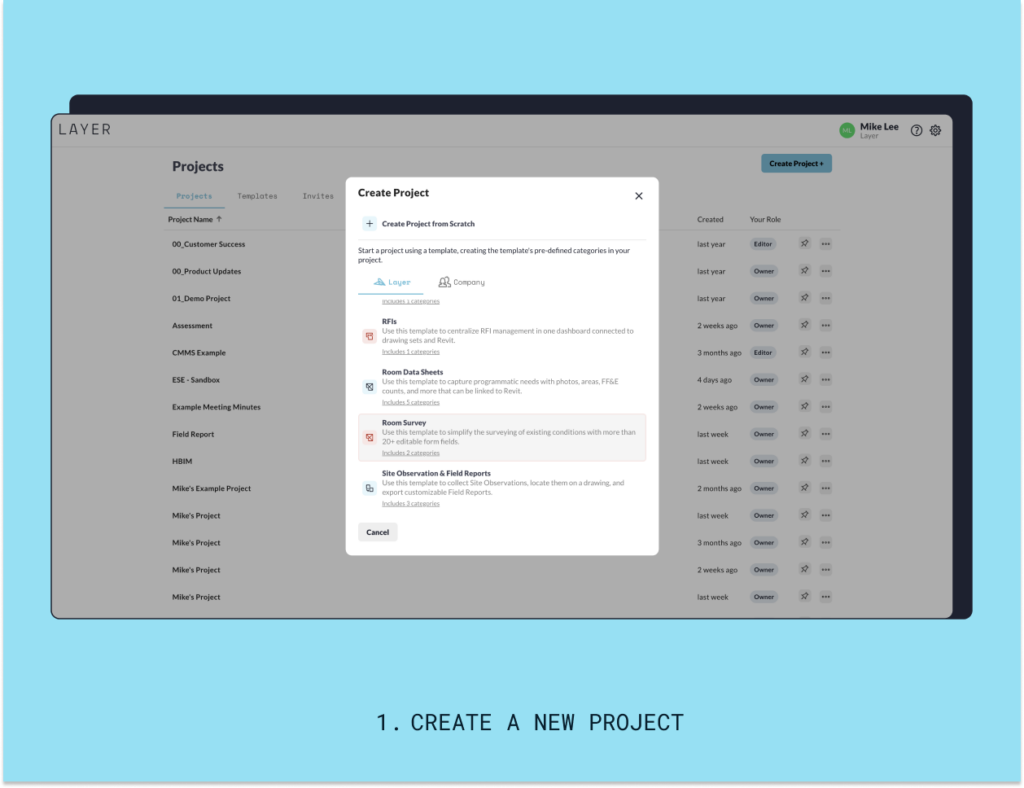
First, log in to Layer or create a new account here. In the dashboard, select New Project.
Categories are the top level containers for organizing elements within a Layer project.
If you're starting your project from Layer's pre-built template, you'll see a preloaded category for Room Data Sheets.
If you're starting the project fresh, click the + button next to the Category tab (circled below in pink) and create a new category. Then, within the pop up window, you can select Room Data Sheets from our preloaded category templates.
To create a new room, navigate to the Add an element button. Name your room something intuitive or that matches your design plans to date.
Next, create the element within the Room Data Sheets category.
Note that you can also either import a .csv file or sync your model to Layer so that these rooms will auto-populate. For now, let's assume that you're developing your Room Data Sheets before your model is fleshed out. See Step 8 below for how to link up these parameters later.
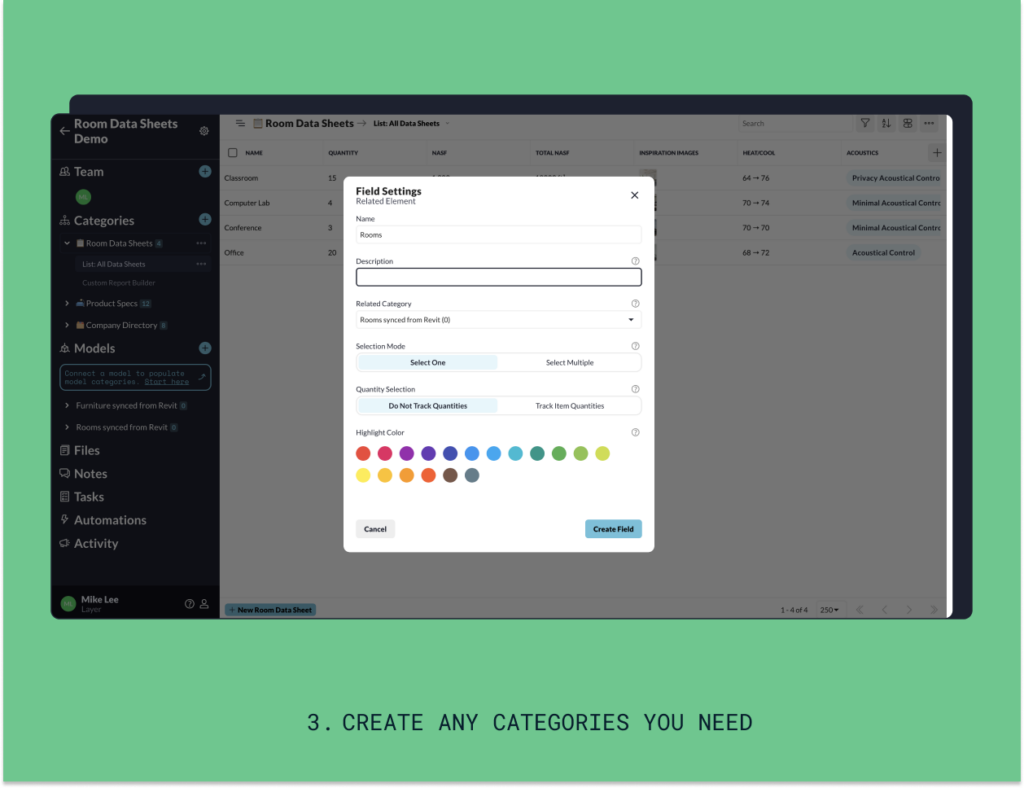
Layer is fully customizable in what fields are displayed on your Room Data Sheets. Our pre-built templates come preloaded with what we've found to be industry best practice, but every project is different.
To create a new field, navigate to the three dots icon in the upper right hand corner and click Edit fields in Room Data Sheets.
The below window will pop up. You can rearrange the fields as you like or click the + button to add new custom or preloaded fields. These settings will automatically apply to all of your Room Data Sheets, so there's no need to worry about repetitive work.
Tip: Form fields only need to be set up once in a Room Element since these fields will propagate to all rooms within that category. Create different types of templates by assigning each its own category.
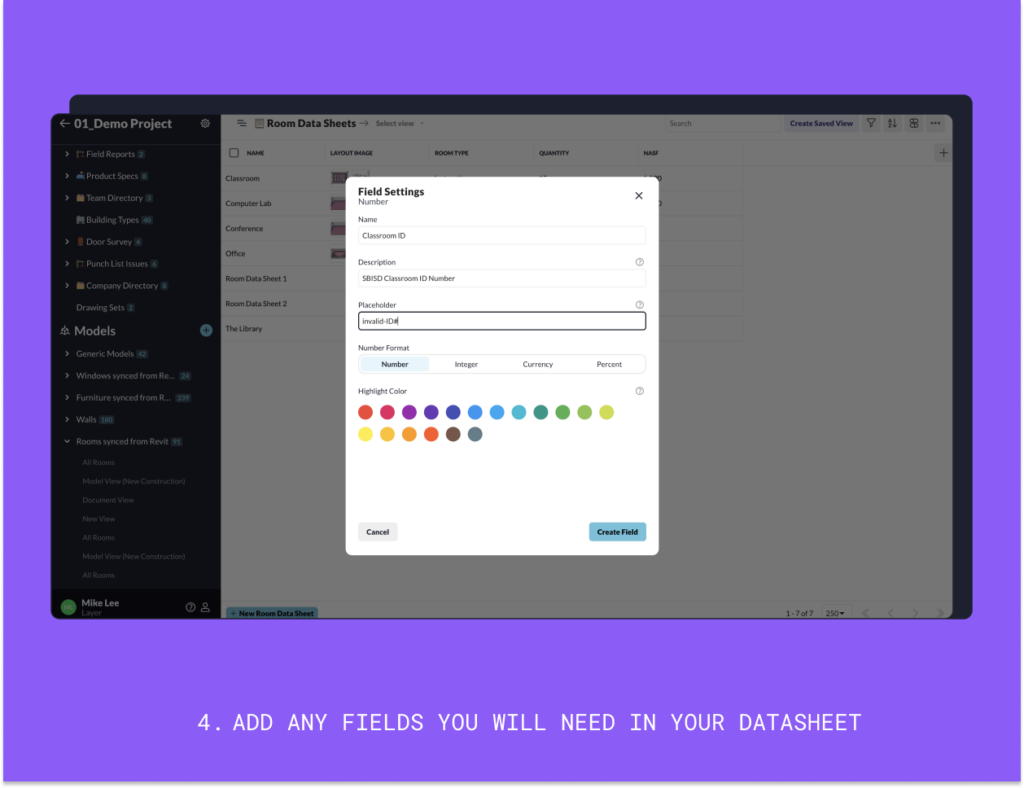
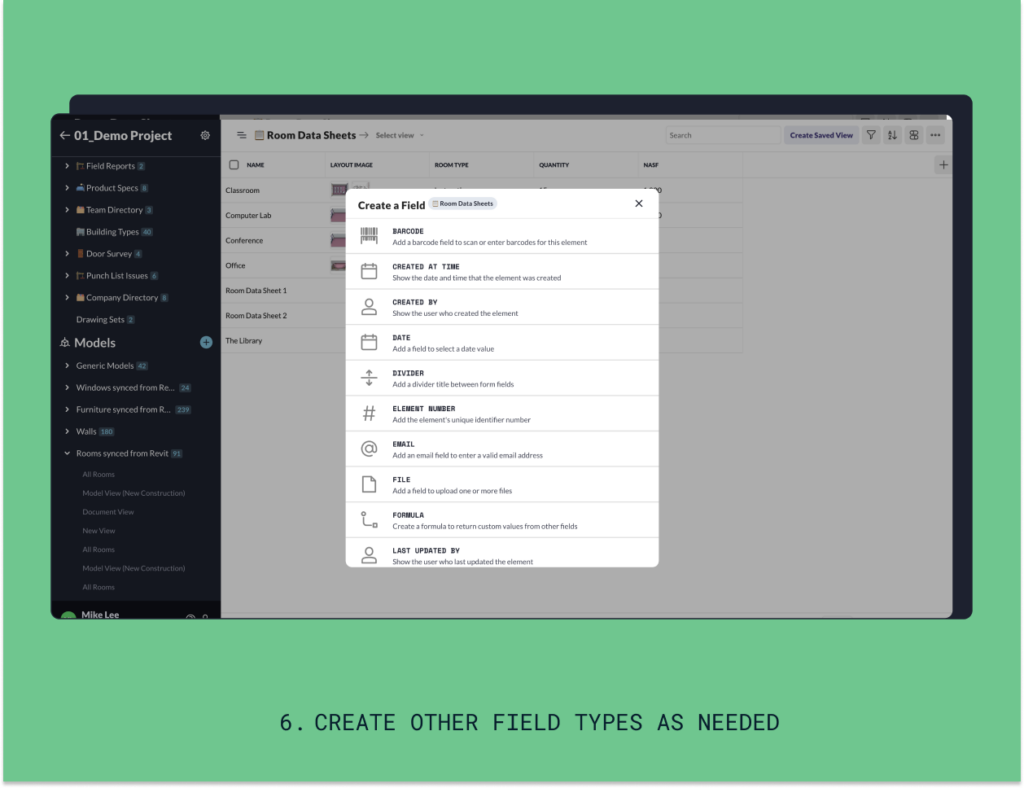
If you don't see the field you want as one of our preset options, don't worry! You can easily create a new field.
First, click the blue + button at the bottom of the Edit Form window you have pulled up.
Then, a list of field types will appear, such as E-Mail input or Last updated by. We selected Text input below, which is the most generic option.
After clicking the field type you'd like to add, you can name the field (in this case - Status), write a description, input options, etc. Remember that this field is automatically added to all of your Room Data Sheets!
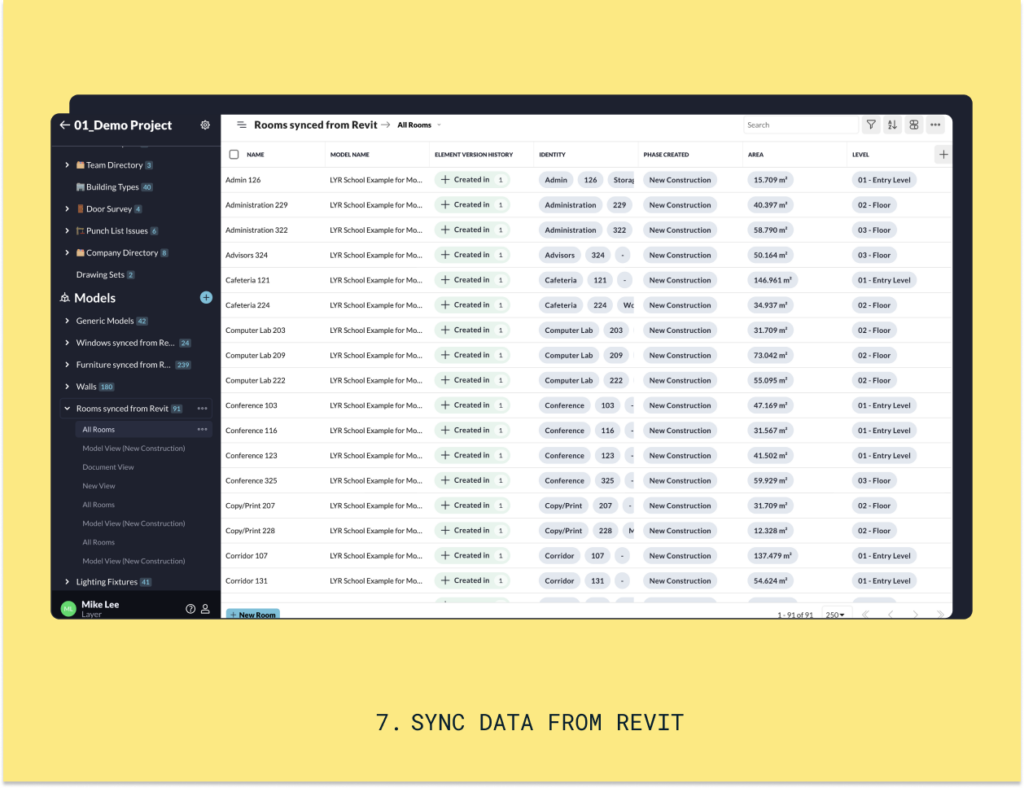
When you get to the point in your project where you've connected your Revit model to Layer, it's super easy to pull data from the model to populate and validate some of the information in the Room Data Sheets. Make sure you download Layer's Revit Add-in and follow the installation instructions here.
In the screenshot below, we've used the fields Qty in Model and List of Rooms from Model to pull active information from Revit. These will automatically update with information for any rooms that are tagged with the same Room Type.
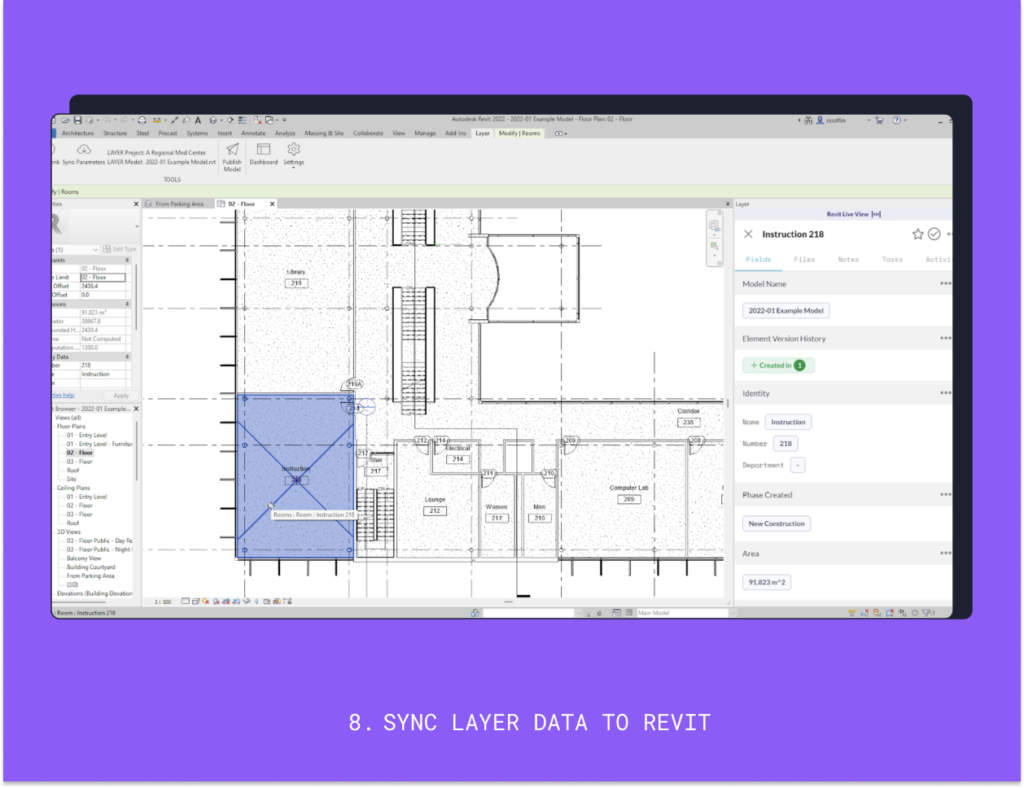
Syncing works in both directions! Layer can also send information to your Revit model.
You can program your fields in Layer to automatically connect with a Revit parameter, so that when somebody updates it in Layer, the information is automatically sent to the model.
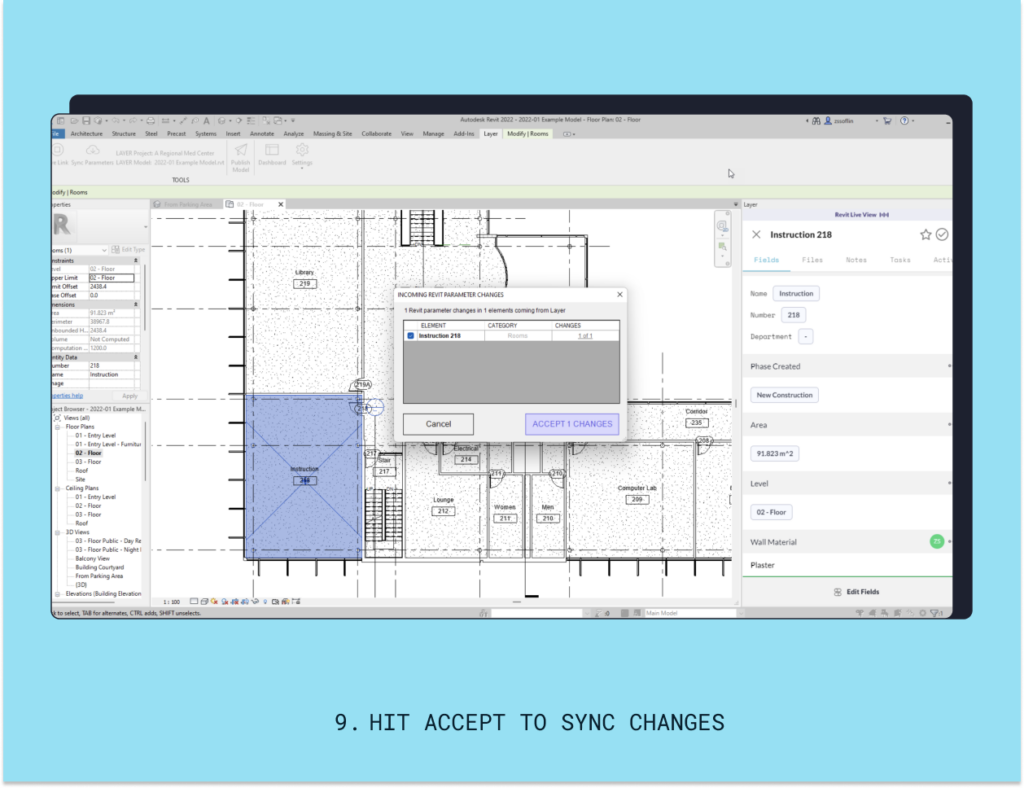
Open the Revit model. A window pops up noting the incoming Revit parameter changes. Review them and if all looks good, click Accept.
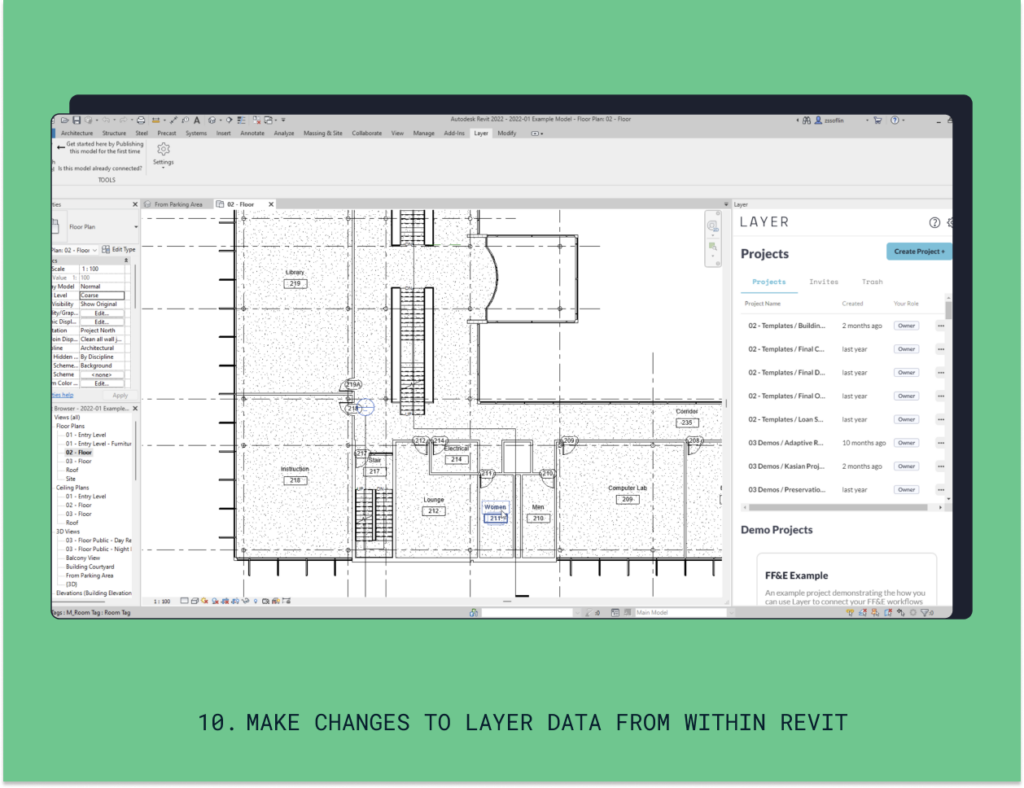
Thanks to the dockable window by Layer, you can easily go back and forth from Revit to Layer. Any changes you make in Revit will automatically be updated in Layer, keeping everyone up to date on the latest project information.
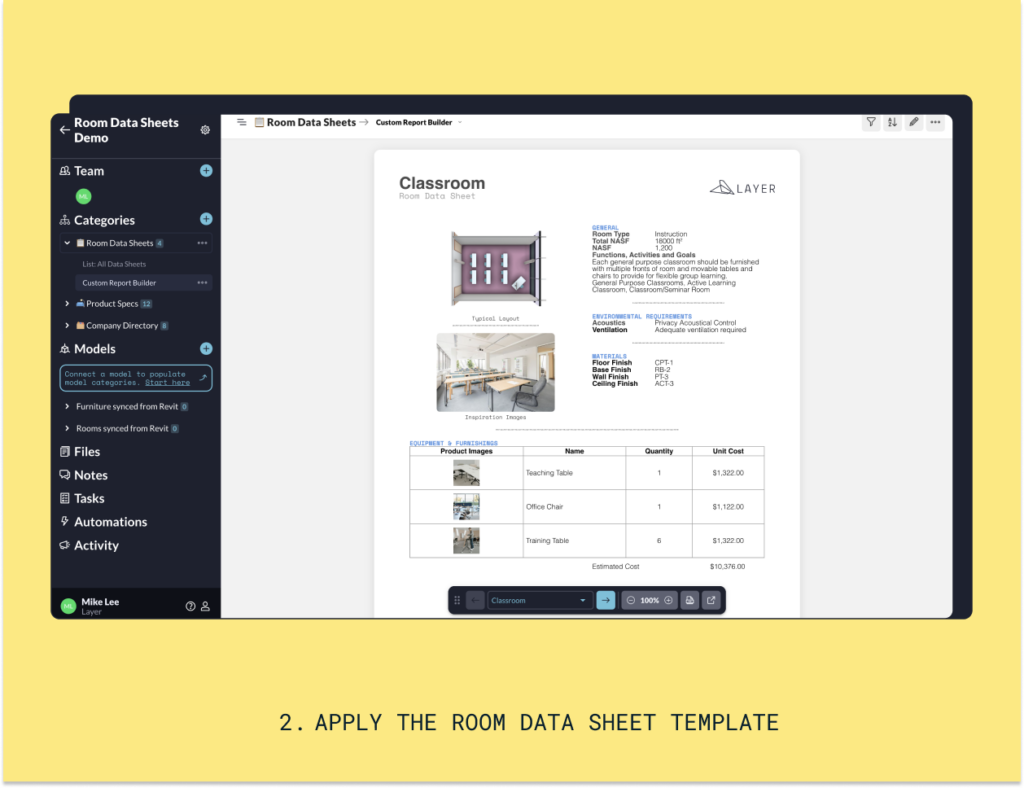
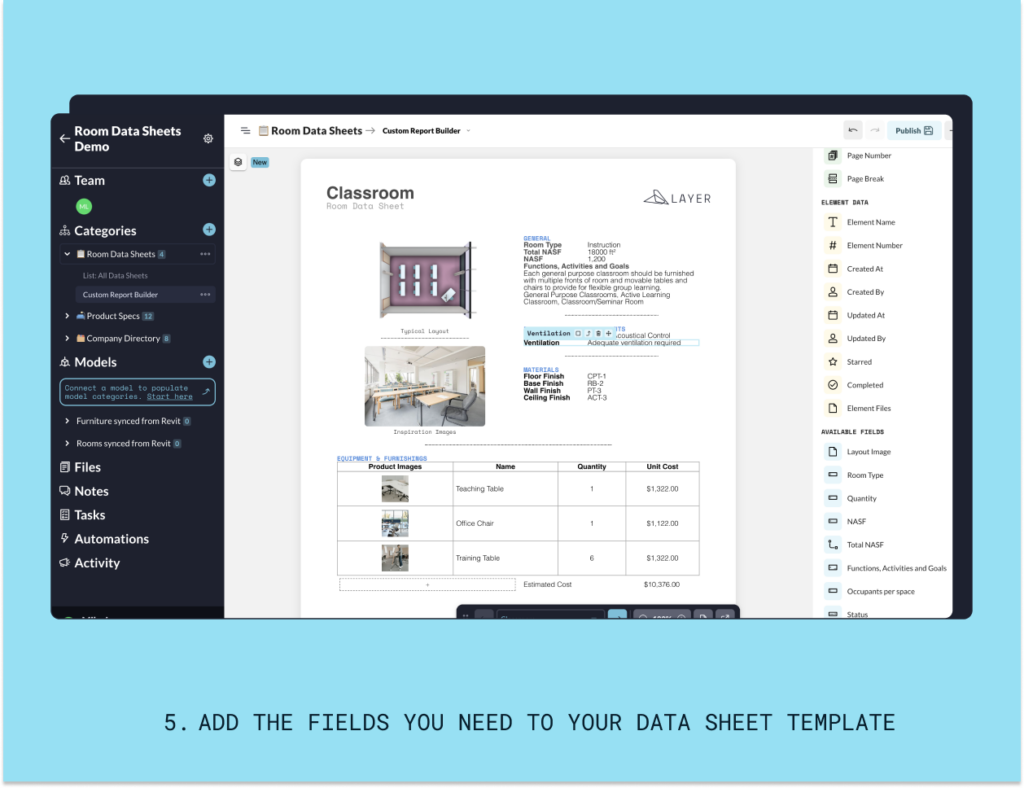
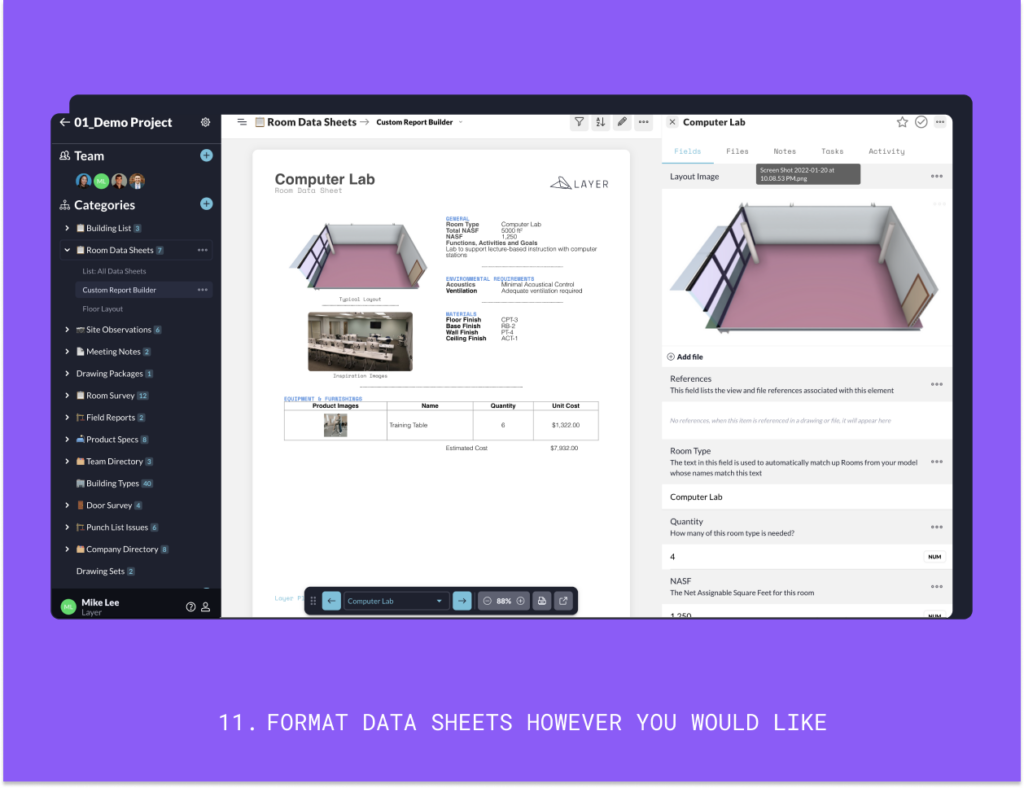
You can easily create custom reports to export the Room Data Sheets as a PDF.
Using Layer's unique Document View report builder, you can build a custom layouts with drag-and-drop blocks that autofill data from your categories. You can even save the report as a template to share. Learn more about Document View here.
One of the best features of Layer is the ability to share this information easily with all members of the project, no Revit skills required.
There are three permission levels: Owner, Editor, or Viewer. Viewers cannot invite users or make edits, so you don't have to worry about sharing with somebody that might mess up the hard work you've done.

Learn how to invite all types of collaborators to your Layer project here.
Tip: We like to invite our consultants to a project so that they can upload equipment cut sheets. This allows them to share different options with the team and for us to comment back.
Layer makes creating and managing Room Data Sheets exponentially more efficient with clickable links between categories, an instant connection to Revit, and a powerful custom report builder.
For more information watch our Room Data Sheets Linked to Revit webinar or schedule a demo below ↓
This article explain the what, when, and why of Architectural Room Data Sheets and their role in the design process.
Here’s a quick tutorial for using Layer to efficiently create and manage Room Data Sheets