Jessica Wyman
Updated: Apr 19, 2021
Schematic Design Phase and Evolving the Revit Model
We'll discuss the architectural Schematic Design Phase and how your Revit model and building data evolve during this stage.
Let’s examine how Layer can help keep your design on track during SD.

What is the Schematic Design (SD) Phase?
At the end of Pre-Design, the project doesn’t quite “look like” anything yet. Equipt with client surveys, site information, and a programming guide, you’re ready to begin Schematic Design. It’s your job to turn the ambiguous into something visual, which is no easy feat.
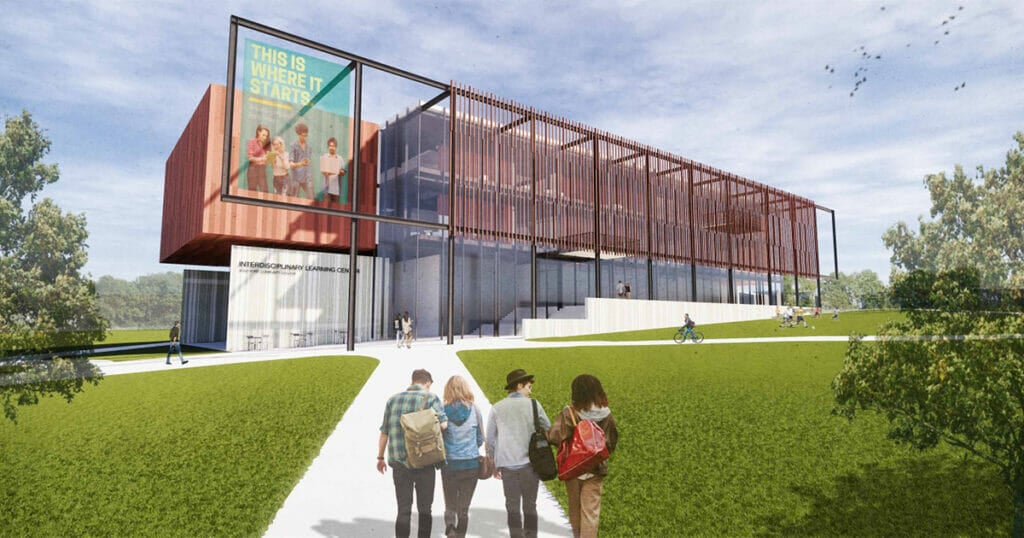
You and your design team will produce a series of sketches, physical models, and initial renderings to bring the project to life. Your Revit model, while still fairly abstract, will start to take shape.
The end goal is to demonstrate how different spaces might be configured and how the building might sit on the site.
Working in Revit during the Schematic Design Phase
What goes into a Revit model during SD? Preliminary building masses are created to test program adjacencies, building proportions, or building layout; and numerous types of components – e.g., walls, floors, ceilings, windows, etc. – are inserted into the design in order to explore the look and feel of a wide range of design possibilities.
As you may notice, your Revit model starts to become much more densely populated with information. The good news is that the tips we shared for Pre-Design come in handy for Schematic Design. The field data and client feedback gathered in Pre-Design is now easily accessible right in Revit.
Remember, the data foundation you set early on will play out for the remainder of your project, so don’t wait until later to organize your data. Here are few tips to maximizing the value of Layer and an integrated Revit model.
1. Share your model & data with your consultants
At this stage, you may invite some external collaborators, like engineers and consultants, to your Layer project. If they’re new to Layer, it will be important to onboard them to the platform.
Each consultant has their own responsibilities, such as scoping out building systems narratives and creating FF&E budgets. Your consultants will require specific documents, like floor plans, from you before they begin their work.
Oftentimes, attachments get lost in numerous email threads. The benefit of Layer is that you can share relevant drawings or design data in a single place to ensure all parties have the latest information.

Images courtesy of BVH Architecture.
2. Present preliminary design concepts via Room Data Sheets
While not fully flushed out, your design starts to take shape during Schematic Design.
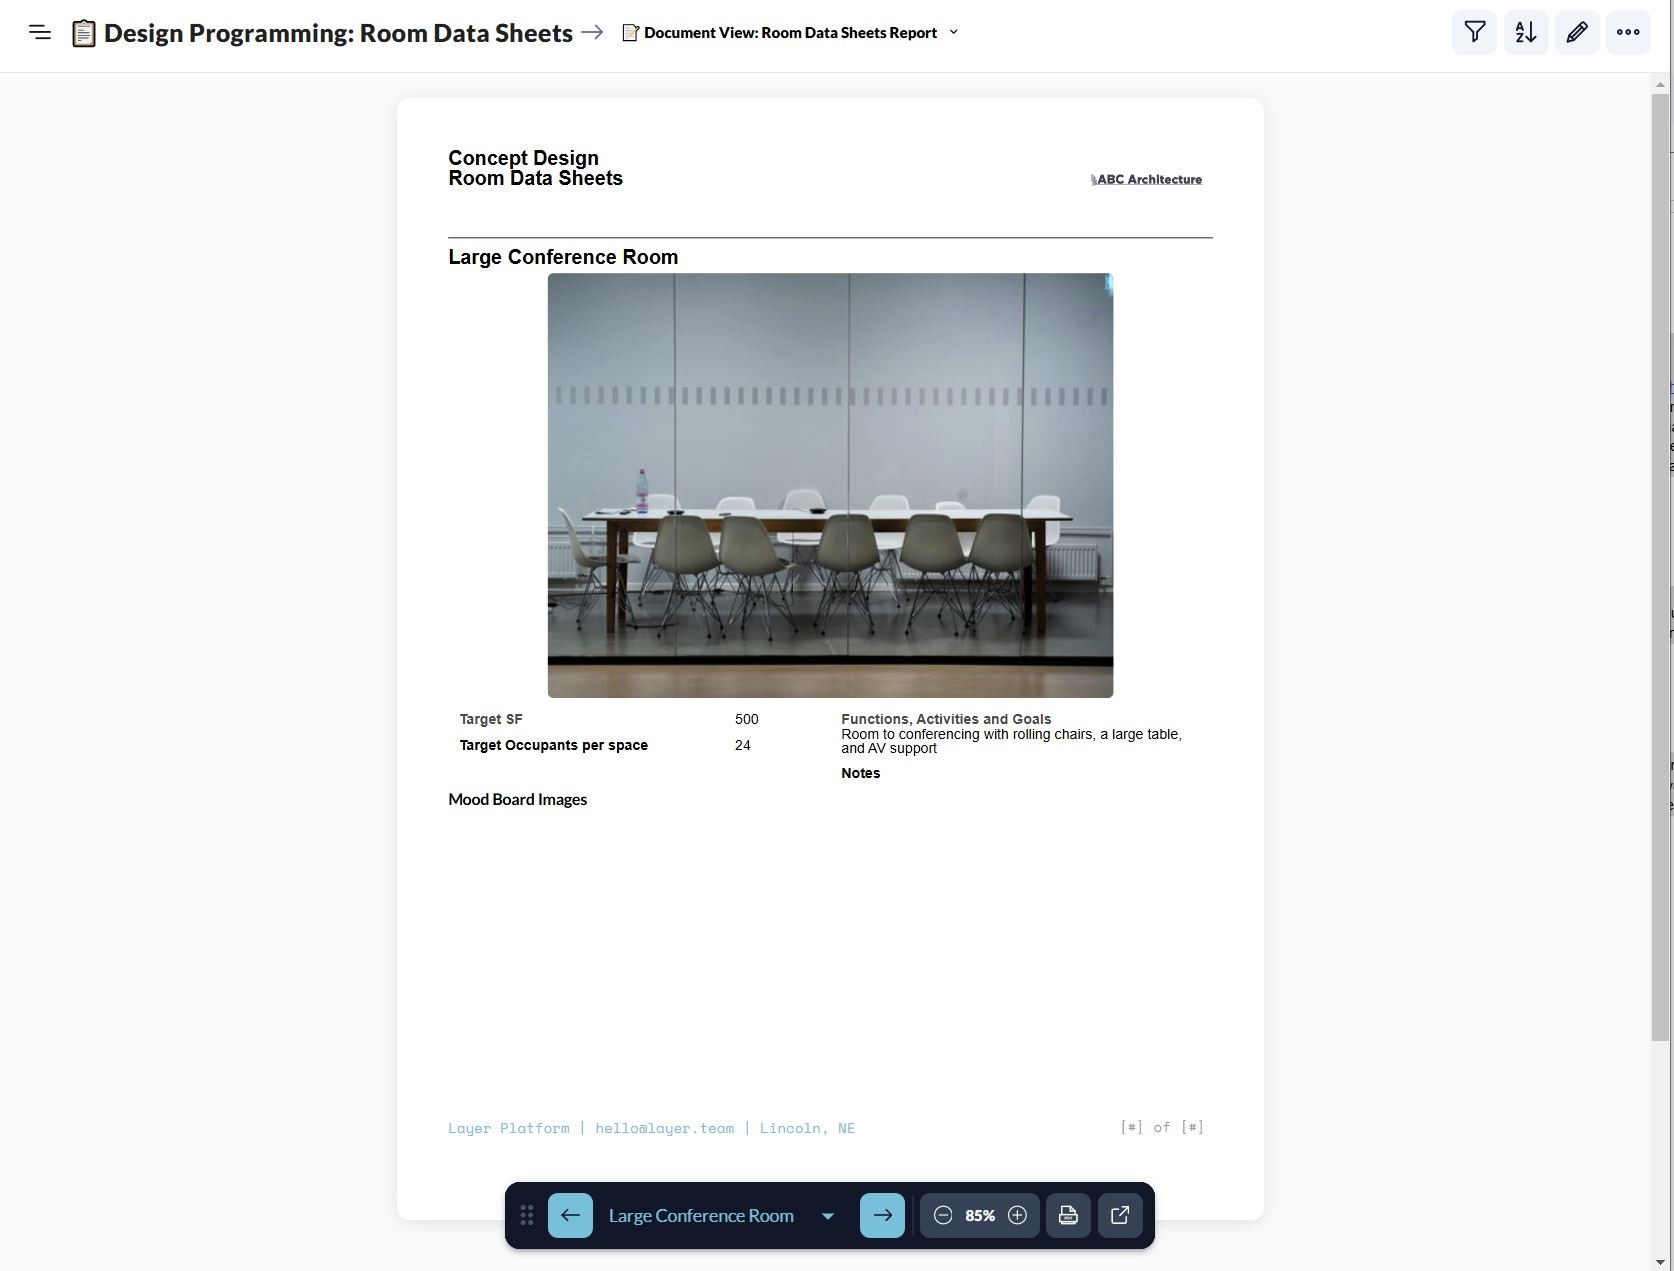
Using a direct connection from the Revit model, you can create Room Data Sheets in Layer to describe each room type in your project. As designers, we’re prone to spending as much if not more hours formatting our design into a digestible format. Rather than exporting drawings, copying and pasting information into a presentation builder, Room Data Sheets are a quick and easy way to compile text and images into a presentable format for your client and consultants. The data that appears in the document are directly linked to actual Revit rooms and families.
For a technical how-to on creating Room Data Sheets, click here.

3. Conduct rough cost estimations
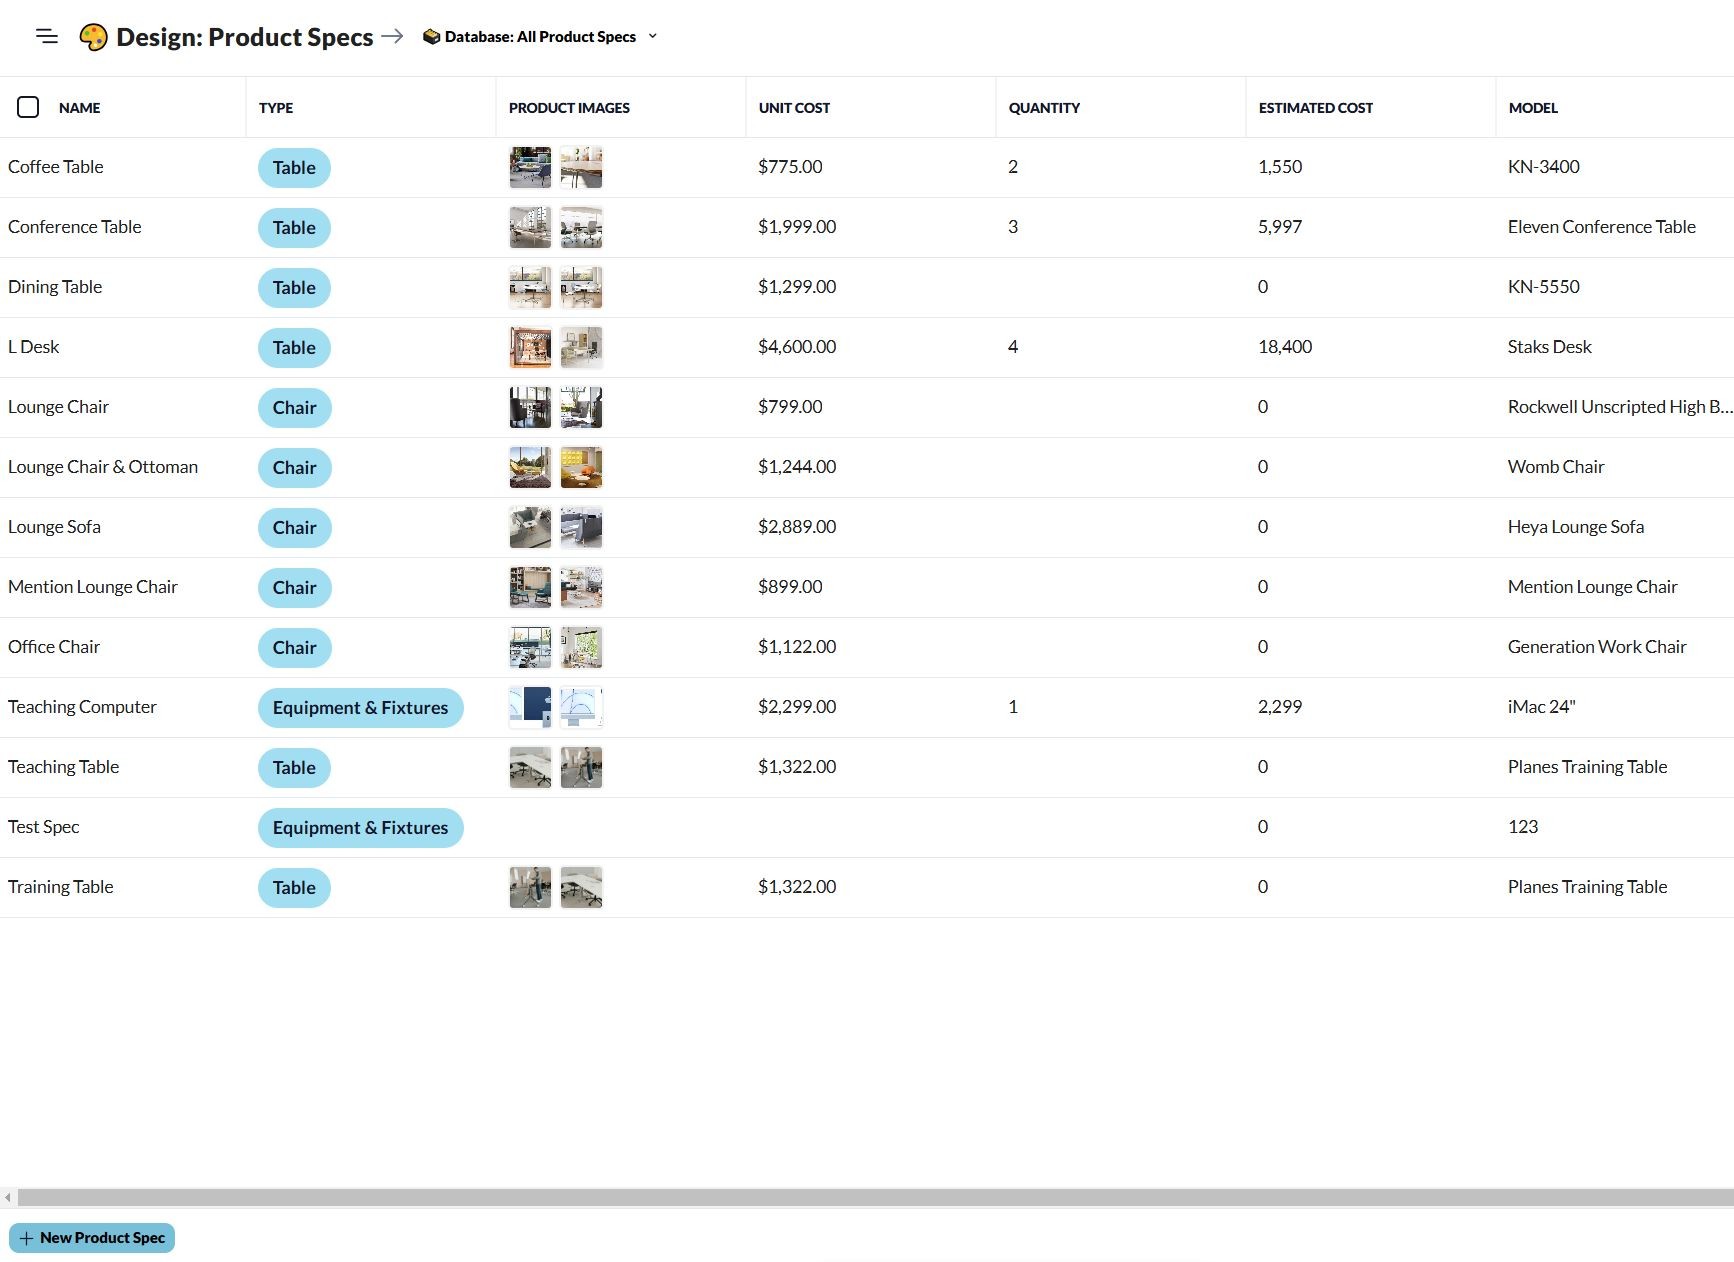
Like a standalone spreadsheet, you can perform math in Layer to generate rough cost estimates for various groups of elements, like furniture, floor finishes, and appliances. Because the Revit quantities appear in Layer, you can easily attach a “cost” parameter to each item to calculate the budget.

Moving on to Design Development!
Once your client approves your Schematic Design direction, you and your team will move onto Design Development. The tips we shared for Schematic Design will be built upon during Design Development. Don’t lose site of organizing your data now! The amount of information will only continue to grow from here.


