Project Management
Project Management
Project Management
Smarter Meeting Minutes in 8 Easy Steps
Smarter Meeting Minutes in 8 Easy Steps
Smarter Meeting Minutes in 8 Easy Steps
Here’s a quick tutorial for using Layer Smart Docs to take more efficient Meeting Minutes

Jessica Wyman

Jessica Wyman

Jessica Wyman
Originally Published: Mar 19, 2020


Contents
Updated:Nov 19, 2025
Quit wasting time copy & pasting meeting notes!
Are you a project manager who needs to relay important information or delegate detailed tasks to team members? Use Layer Smart Docs to keep project communication out of the inbox and focused on where they need to be: in the context of the building. Here’s how to get started:
1. Open Layer and Create a New Project

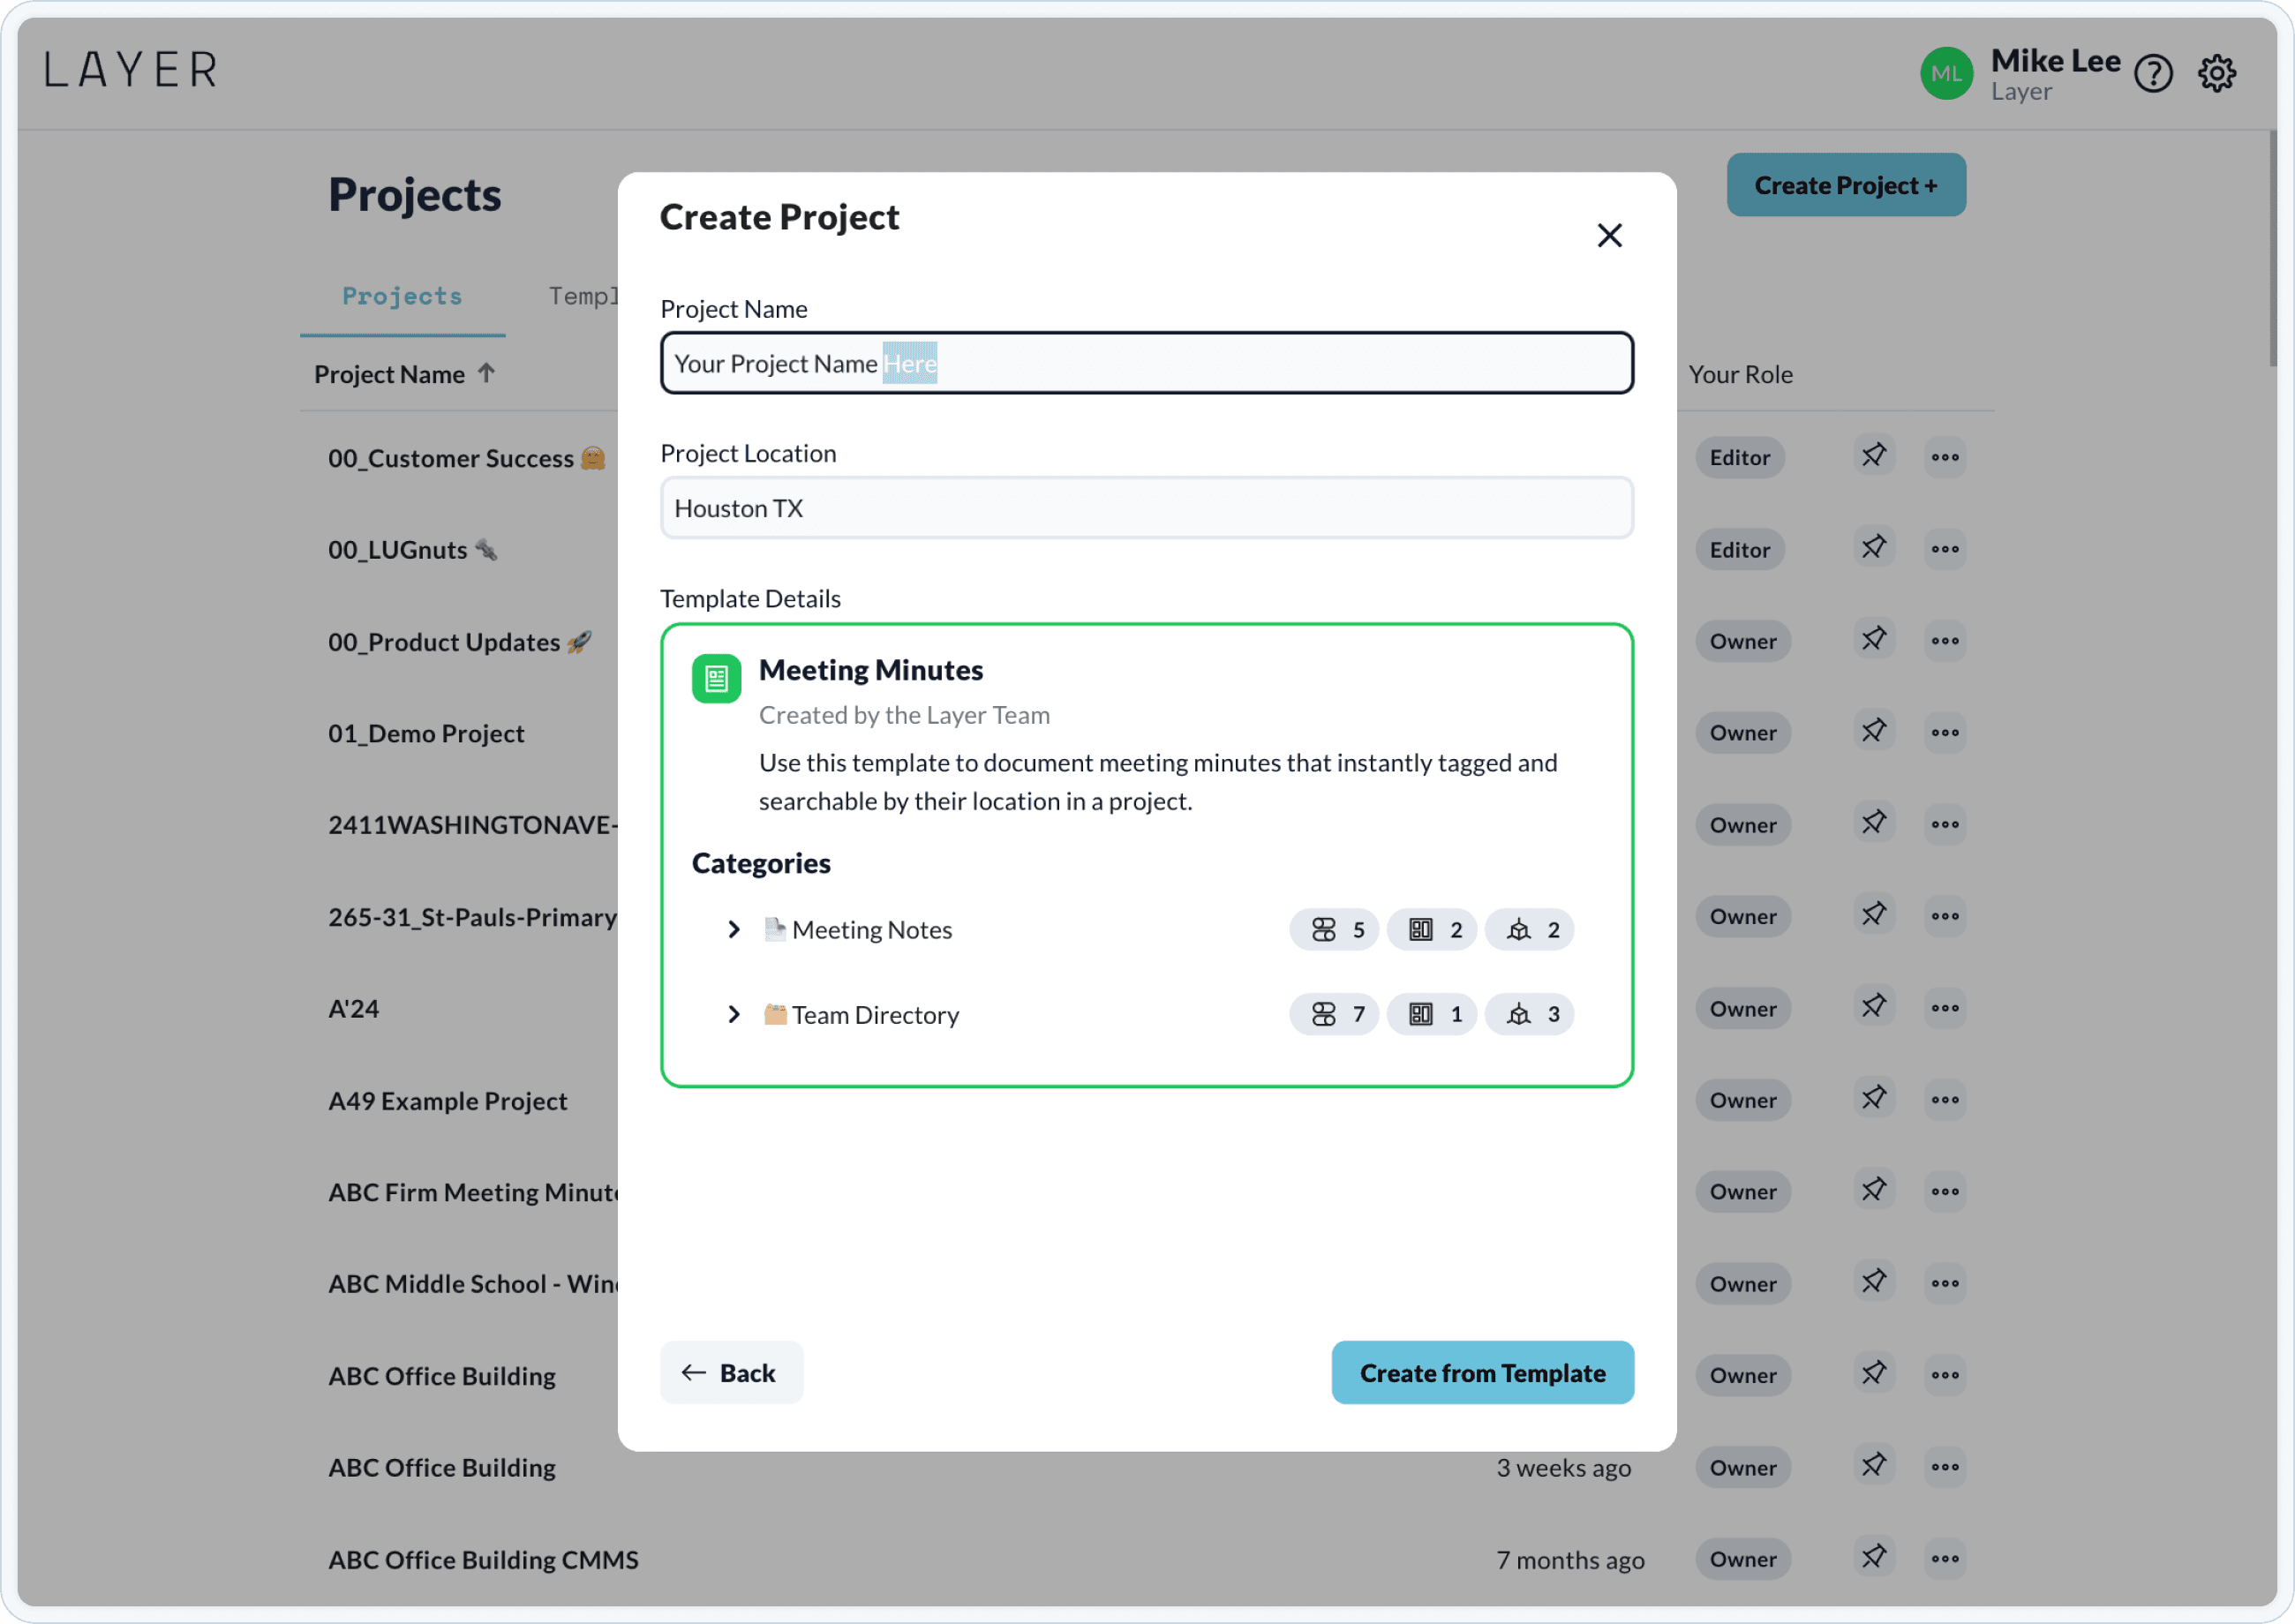
Log in to Layer or create a new account here. In the dashboard, select New Project.
2. Invite Team Members
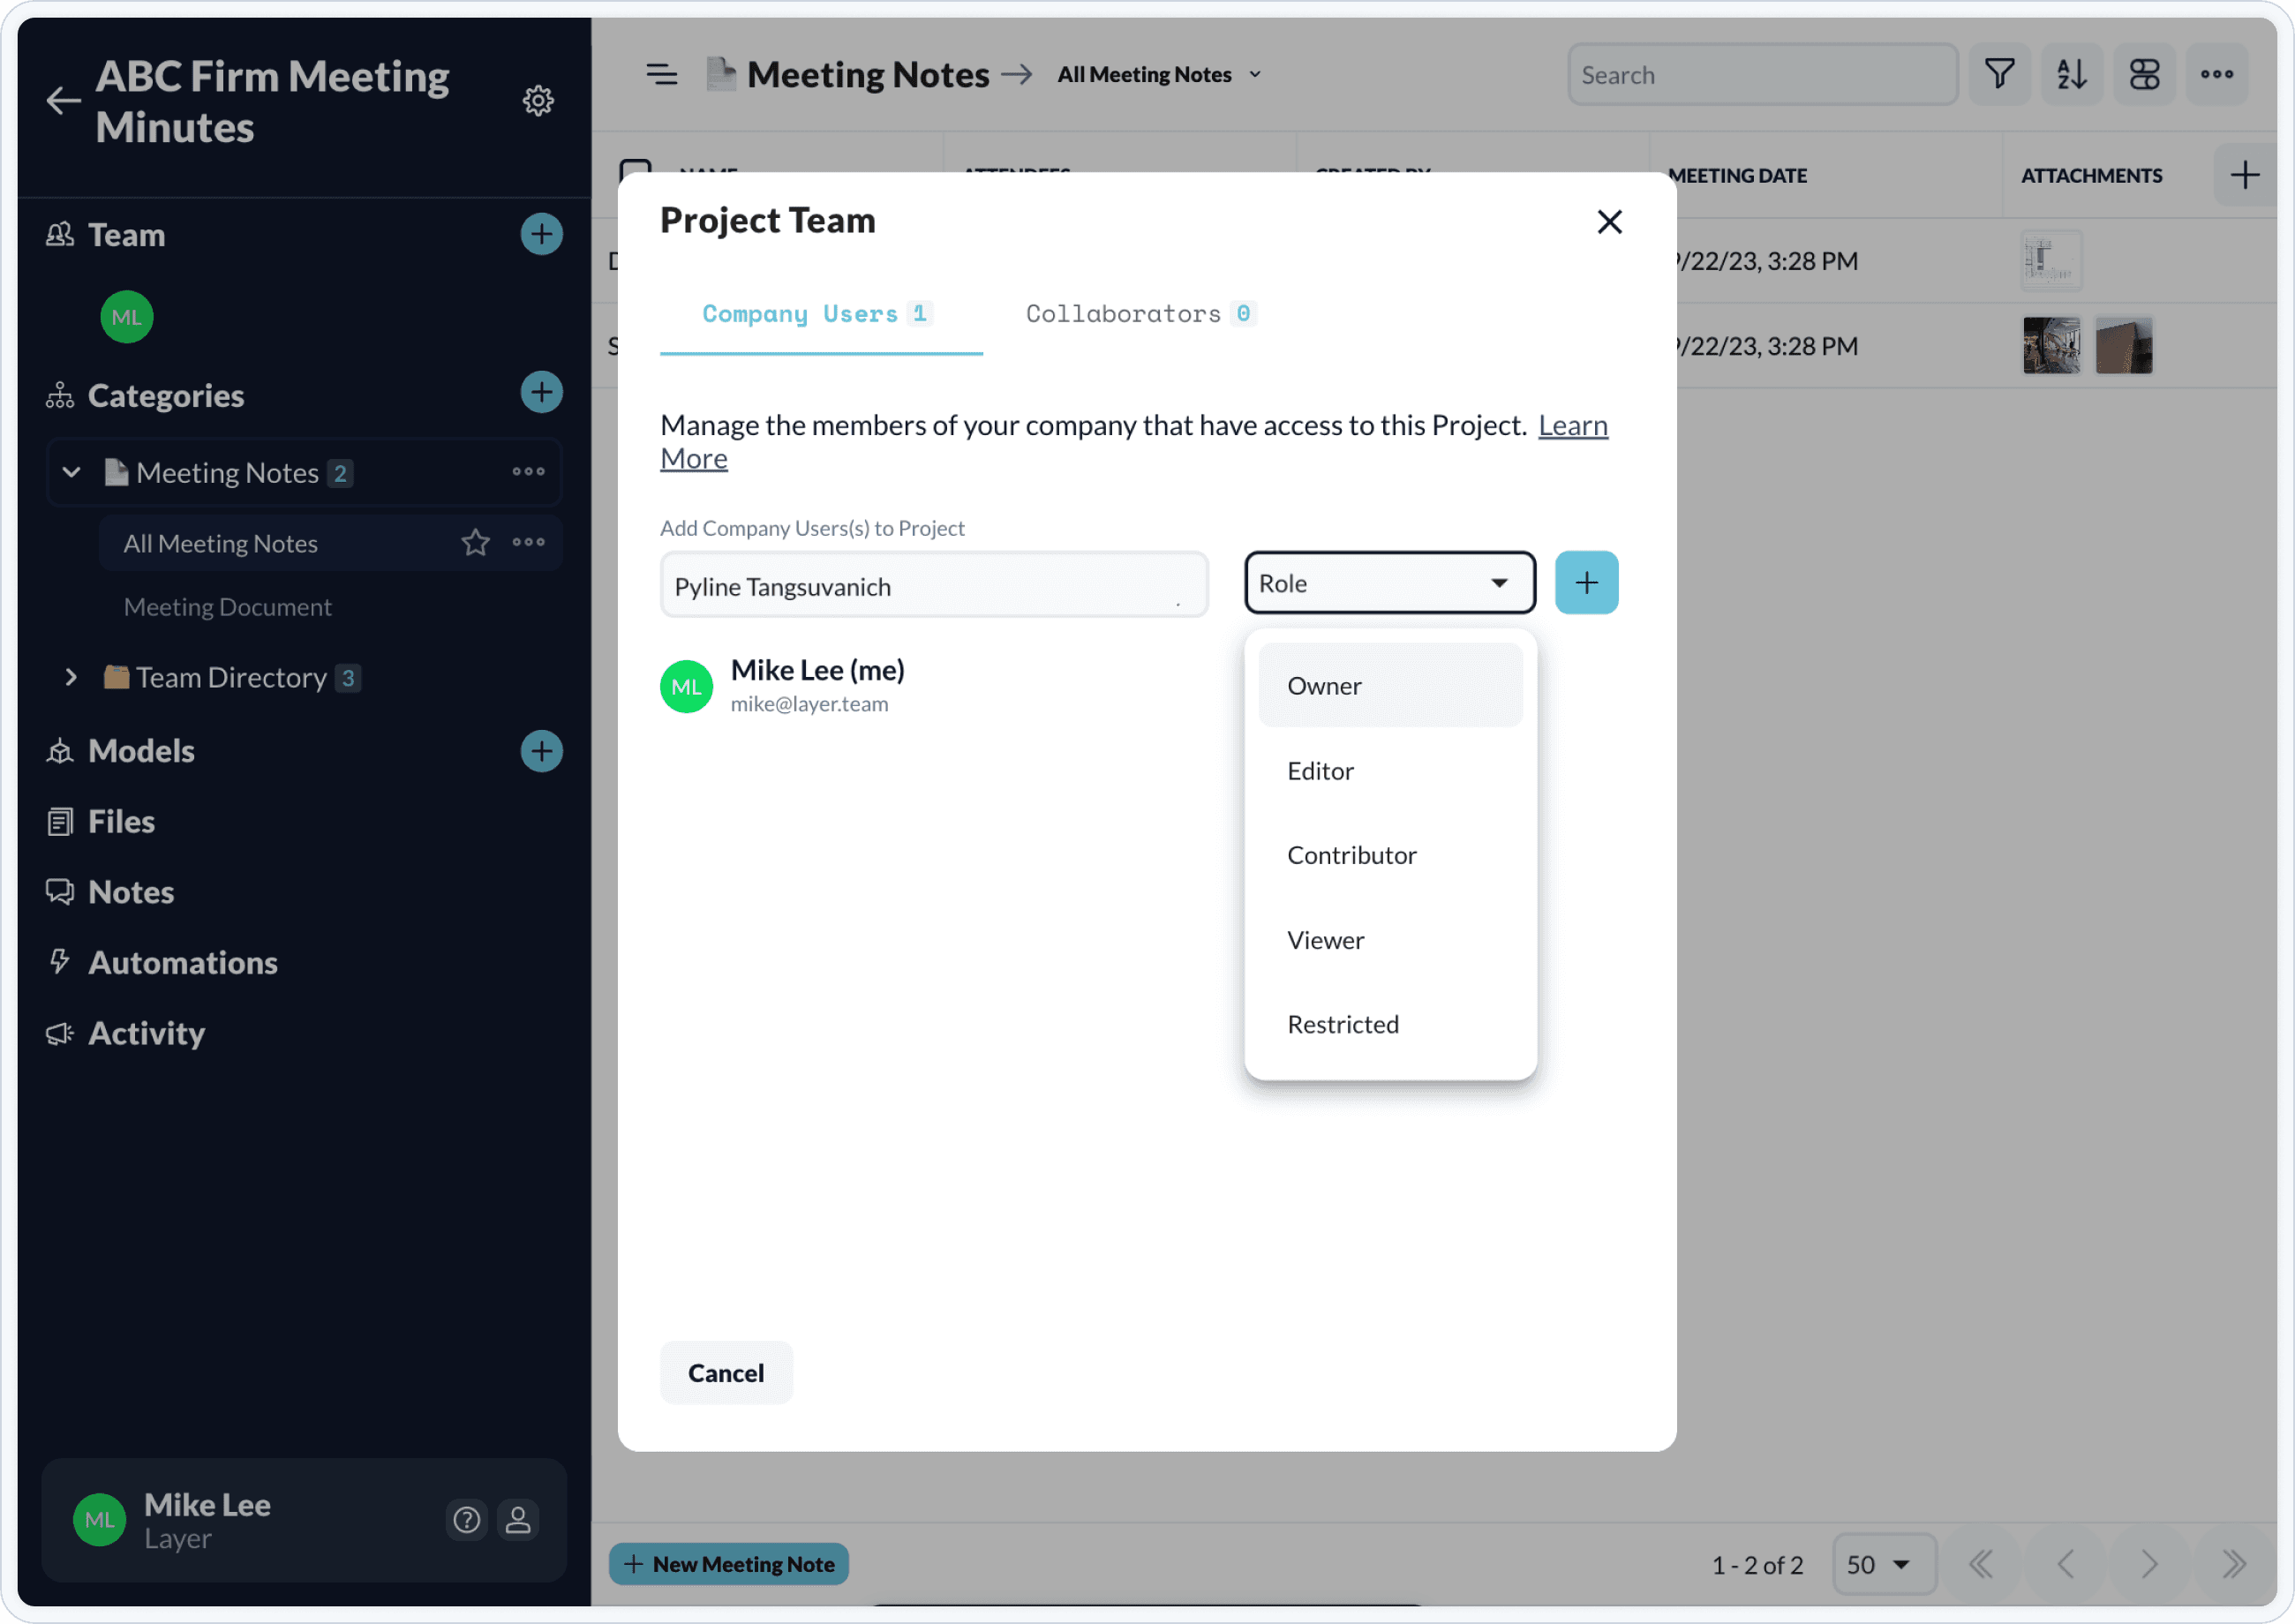
Click the Project Team Members button in the lower right corner to invite users to view and collaborate on the collected photos and data. Choose from three permission levels: Owner, Editor, or Viewer. Owners and Editors can invite other users and create new Categories, Elements, and form fields. Viewers cannot invite users or make edits within Layer.

Tip: Make sure to invite any users who will need to receive task notifications.
3. Create New Room Elements
Elements can be anything such as a room, piece of equipment, punch list issue, or work order. To create your own Elements, click the Create an Element button in the bottom navigation bar. Give the new Element a name and click Pick Category to assign the Element to one of the existing Categories.
Tip: We like to do this initial set-up in the office, but Layer’s flexible platform also lets you do this on the fly or at a meeting.
4. Create a New Smart Doc
Associate your Smart Doc with a specific Element by creating the Smart Doc within the Element. Smart Docs created within a specific Element will appear in the overall Files list in the Elements Dashboard. Navigate to Files, select the + button in the lower right corner, then select the + Create Doc button which will open a new Smart Doc. Using the top navigation bar, give the Smart Doc a name.
Tip: Need to specify a Smart Doc in the Element form? Just create a Files Field in the Element and attach the Smart Doc to that Field.
5. Type, Format, and Style Text
Type the meeting minutes and use the secondary bar of editing tools to format and style text.
Tip: There is no need to save the Smart Doc since any changes will save and sync automatically.
6. Tag Elements
Tag an Element by adding a # before the Element name. Team Members can now click on the tagged Element within the text to link directly to that specific Element, which can then link you directly to the Revit model if needed.
7. Tag People
Tag a Team Member by adding an @ before their name. Tagged Team Members will receive a notification that they have been mentioned.
8. Share the Document
Copy, paste, and send the URL to share the Smart Doc with Team Members.
Tip: Copy and paste the text into a letterhead Word or Google doc and all of the tagged Elements and Team Members will be preserved as live links to Layer.
Layer makes Meeting Minutes smarter and more efficient by keeping every piece of information and every team member exactly where they need to be: in the context of the building. Layer connects the information you need to design to the tool used to create the design. Say goodbye to busy work.
Quit wasting time copy & pasting meeting notes!
Are you a project manager who needs to relay important information or delegate detailed tasks to team members? Use Layer Smart Docs to keep project communication out of the inbox and focused on where they need to be: in the context of the building. Here’s how to get started:
1. Open Layer and Create a New Project

Log in to Layer or create a new account here. In the dashboard, select New Project.
2. Invite Team Members
Click the Project Team Members button in the lower right corner to invite users to view and collaborate on the collected photos and data. Choose from three permission levels: Owner, Editor, or Viewer. Owners and Editors can invite other users and create new Categories, Elements, and form fields. Viewers cannot invite users or make edits within Layer.

Tip: Make sure to invite any users who will need to receive task notifications.
3. Create New Room Elements
Elements can be anything such as a room, piece of equipment, punch list issue, or work order. To create your own Elements, click the Create an Element button in the bottom navigation bar. Give the new Element a name and click Pick Category to assign the Element to one of the existing Categories.
Tip: We like to do this initial set-up in the office, but Layer’s flexible platform also lets you do this on the fly or at a meeting.
4. Create a New Smart Doc
Associate your Smart Doc with a specific Element by creating the Smart Doc within the Element. Smart Docs created within a specific Element will appear in the overall Files list in the Elements Dashboard. Navigate to Files, select the + button in the lower right corner, then select the + Create Doc button which will open a new Smart Doc. Using the top navigation bar, give the Smart Doc a name.
Tip: Need to specify a Smart Doc in the Element form? Just create a Files Field in the Element and attach the Smart Doc to that Field.
5. Type, Format, and Style Text
Type the meeting minutes and use the secondary bar of editing tools to format and style text.
Tip: There is no need to save the Smart Doc since any changes will save and sync automatically.
6. Tag Elements
Tag an Element by adding a # before the Element name. Team Members can now click on the tagged Element within the text to link directly to that specific Element, which can then link you directly to the Revit model if needed.
7. Tag People
Tag a Team Member by adding an @ before their name. Tagged Team Members will receive a notification that they have been mentioned.
8. Share the Document
Copy, paste, and send the URL to share the Smart Doc with Team Members.
Tip: Copy and paste the text into a letterhead Word or Google doc and all of the tagged Elements and Team Members will be preserved as live links to Layer.
Layer makes Meeting Minutes smarter and more efficient by keeping every piece of information and every team member exactly where they need to be: in the context of the building. Layer connects the information you need to design to the tool used to create the design. Say goodbye to busy work.
Get Started Today
Want to see how Layer can transform the way your team works?
Get Started Today
Want to see how Layer can transform the way your team works?
Get Started Today
Want to see how Layer can transform the way your team works?
Solutions
Solutions
Solutions

