Learn how to install and use Layer’s Revit add-in for seamless project navigation, Live Link, parameter sync, and more. Follow steps for installation and key functionalities.

Zach Soflin
Wednesday, January 28, 2026
Layer can be accessed through the Revit add-in that can be downloaded from our Resources page. The add-in is compatible always the latest version of Revit along the 2 previous versions. To properly install the Revit add-in follow the steps below:
Ensure that Revit is installed on the computer (see above).
If Revit is installed make sure it is closed prior to starting the installation process.
Double click the install file to begin installation.
💡 Once the Add-in is installed, you will see a Layer tab in the navigation ribbon

Key Functionalities
The Revit add-in allows for a seamless experience between the interface of the web application and the Revit environment. It gives the user the power to navigate through their project data from within Revit as they would from an internet browser or the Layer app.
Below is the outline of the key functions of the Revit add-in that can be accessed from the Ribbon.
Live Link
The Live Link feature in Layer has powerful two-way functionality that lets users view and edit rich data, notes, tasks, and files right in Revit.
Users can navigate through the model and by clicking on a Revit objgect, instantly see associated rich data and files in the Layer dashboard.
Live Link also works in reverse: Select a linked Layer Element and Revit will automatically highlight and select its corresponding location in Revit.
💡 For example, when a user is assigned a task in Layer that is associated with a specific Room, they can click on the task and the corresponding Room is instantly selected in the Revit view.
How do I enable and disable Live Link?
Live Link is turned on by default and the feature can be easily turned on and off at anytime within the Revit add-in or within the Layer app.
To disable Live Link in Revit, go to the Layer tab and click the Live Link button.

To turn Live Link back on in Revit, just click the Live Link button again.
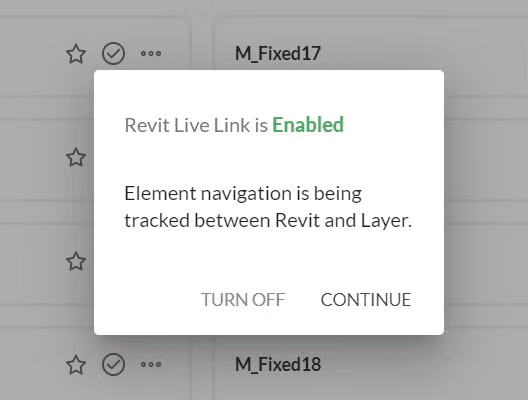
To disable Live Link in Layer, click the Live Link bar in the app.
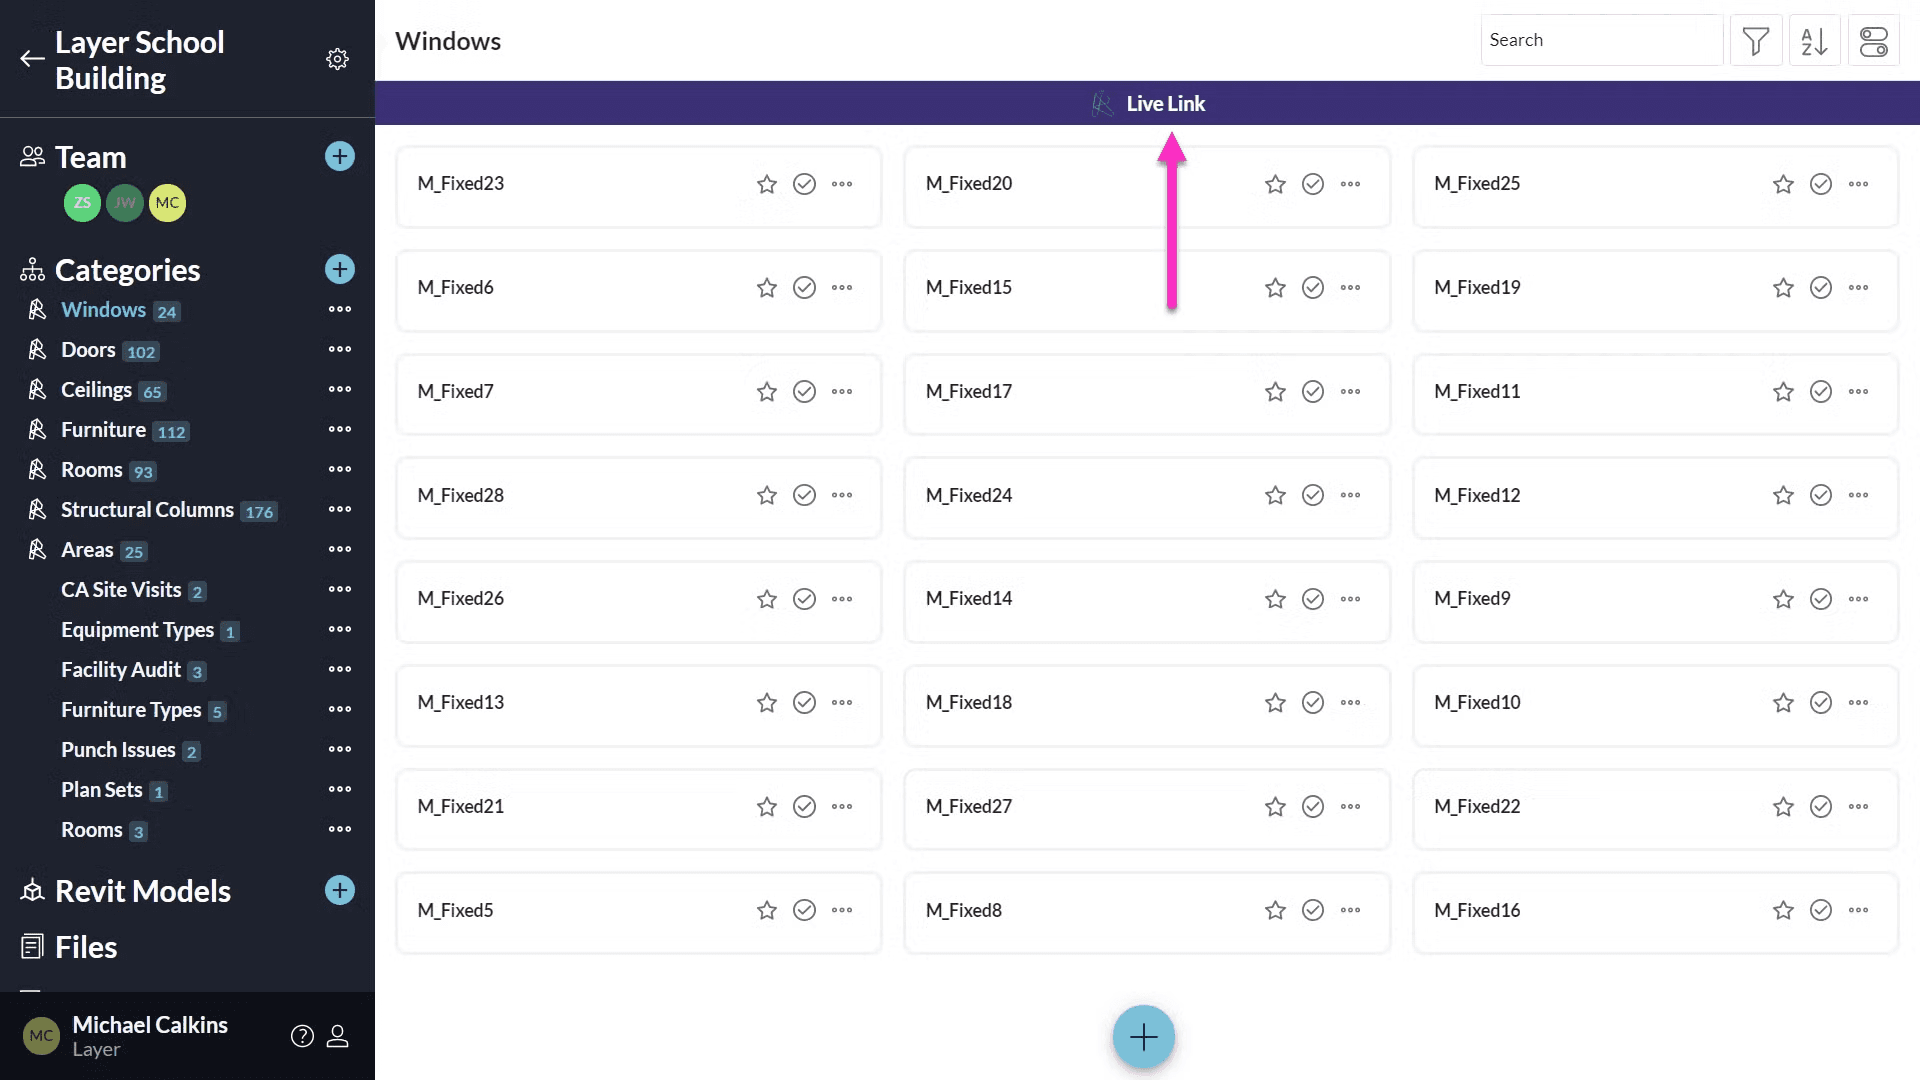
Then choose Turn Off.
Dashboard
The dashboard button allows you to bring up or hide the Layer side navigation panel (dashboard) within Revit.
Sync Parameters
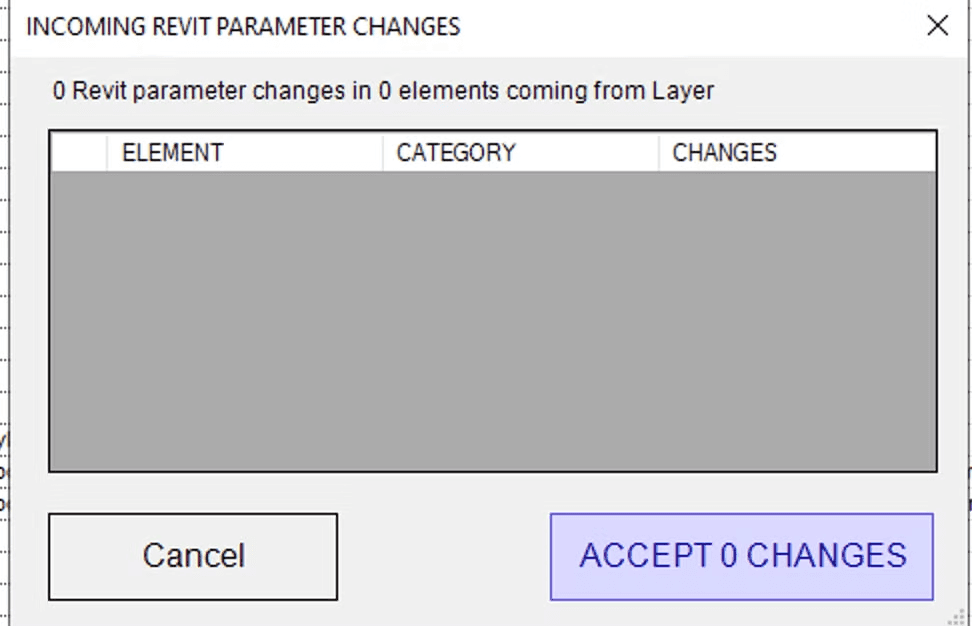
The sync parameters button is used to trigger the sync between values that have been queued up using the Revit Automations. Refer to the Param Sync article for more information.
The dialog box shows the changes that are incoming from Layer. It also gives the user the ability to control which changes are to be accepted. By clicking on the + next to a line item, you can reveal the existing value of that Revit object and the new value that will be assigned to it from Layer.
Click on Accept Changes to execute the parameter sync from Layer to Revit.
💡For supported Revit parameters read this section of our Model FAQs.

Project Selection
Layer allows you to connect a Revit model to multiple Layer projects. The Project Selection menu allows the user to select which Layer project they want to point the Revit add-in to.
This selection will reflect at which Layer Project the Revit add-in is looking at for the Live Link and the Sync Parameters functions.
💡 When publishing or when working with the Dashboard the user has the ability to dictate which Layer Project will be used, regardless of the selection from the Project Selection Menu.
Publish Model
From this button the user can publish a Model using the Revit add-in. Refer to the Publish Model section for instructions.
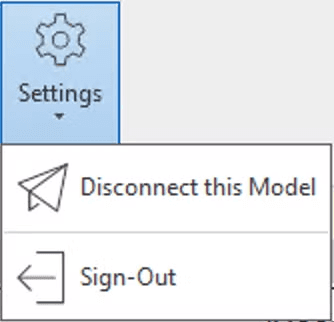
Settings
The Settings button allows you to:
Disconnect a Model from a Layer Project
Sign-Out from the add-in
